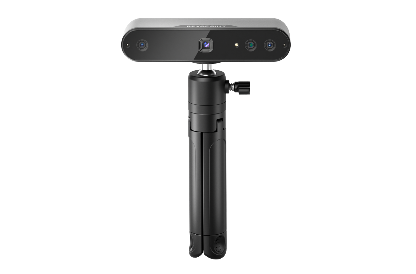
3D scanning used to be both expensive and complicated. The high cost mainly came from the specialized equipment required, while the complexity stemmed from needing to match and configure various devices and software. But now, you can create 3D models directly with your phone! Whether for a DIY project, digital art, or just capturing wonderful moments in 3D, scanning with a phone has never been easier. Here’s a guide to help you use your phone with a 3D scanner for 3D scanning.

1.Getting Your 3D Scanning Software Ready
The first step is to download the 3D scanning software. If you are using a Revopoint 3D scanner, download the corresponding version of the Revo Scan software, available on the official website or app store, based on your phone type. Revo Scan, a self-developed scanning software, is designed for advanced 3D scanning and data processing. It supports various applications like 3D modeling and 3D printing. For mobile use, choose either the Android or iOS version.

2.Connecting Your 3D Scanner
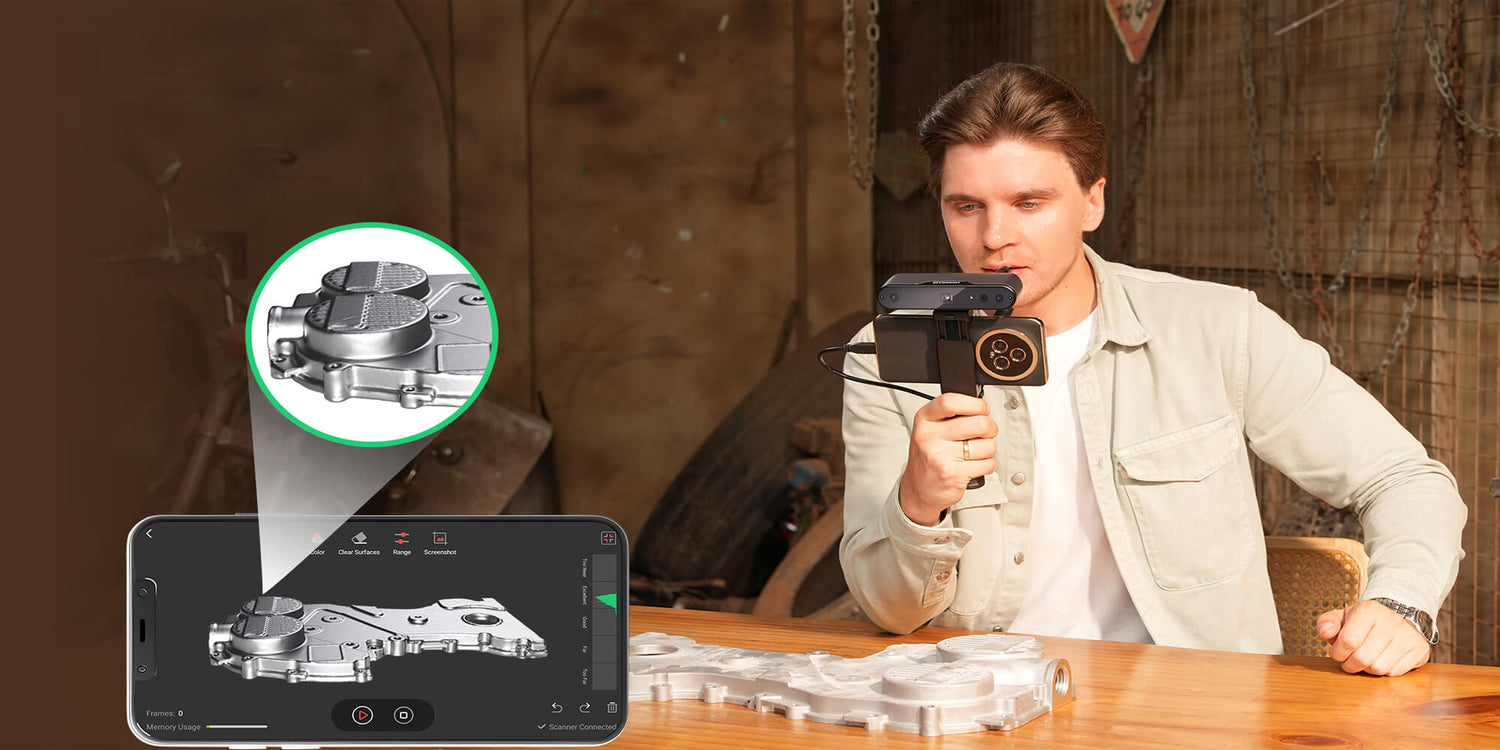
Open the Revo Scan app and connect the 3D scanner to your phone. Android phones can connect via a USB data cable or Wi-Fi, while iOS devices currently support Wi-Fi connection only.

3.Setting Up the Scanning Environment
Lighting and space are crucial for successful 3D scanning. Bright and even lighting is ideal, so try scanning during the day or in a well-lit room. Avoid direct light or shadows on the object, as they will affect scan quality. If possible, use a solid-colored background to help the app distinguish details more accurately.
Place the object to be scanned on a flat, stable surface. For best results, position it so you can walk around it without obstructions.
4.Configuring Scan Settings and Operations
After entering the project page, you’ll see the full software console.
The left side shows the camera preview window. The top part displays the depth camera, which is used for exposure adjustment and digital zoom. Click "Auto" to toggle automatic exposure. To get a high-quality scan, adjust the exposure until there are as few red and blue patches on the object as possible in the depth camera window. Clicking the icon at the top of the depth camera allows you to adjust the focal length and control the scanning range. The bottom-left section is the RGB camera. Adjust the exposure until the colors look accurate in the RGB camera preview window, or set it to auto. Either set the white balance to auto or adjust it till the colors look accurate. You can also use the flash LEDs if needed.

The middle and right sections contain the main view area, distance indicator, settings, tool bar, central preview window, connection and project information, model and control buttons. These sections display the real-time scanning status and results, plus tools and instructions.
Before starting the scan, select scan settings like Accuracy, Tracking Mode, Object Type or Color scanning. Adjust the exposure of the depth and RGB cameras. Then click the "Start" button for 3D scanning and data capture.

Tips for Scanning:
○ Move slowly to help capture accurate details and avoid blurring.
○ Maintain a consistent distance from the object while moving around it.
○ Cover all angles by walking around the object from top to bottom to capture every detail.
5.Post-Processing and Optimizing the Scan
After capturing the model's surface data, tap to finish the scan. You’ll get a raw point cloud data, which you can post-process on the next screen. Post-processing methods include "One-tap Edit" and "Manual Edit."

○ "One-tap Edit" automatically completes point cloud fusion, mesh, and texture mapping.
○ "Manual Edit" is suitable for full editing of model details. In manual editing, you can fully edit your raw point cloud data during every step of the process until you’re satisfied.
○ Save and Export
Once the model is complete, you can save or export it. Share the processed model to Revo Scan on a computer for further editing, or import the data file into other professional 3D model processing software for creation and modification.
If you’d like to download the Revo Scan software or explore more detailed scanning steps, please visit our Download Center.
Using a mobile phone for 3D scanning is a fun, easy way to create digital models of real objects. It’s accessible to a wide range of users interested in exploring the world of 3D. With practice, you’ll soon capture high-quality scans and unlock more creative possibilities. So pick up your 3D scanner and phone, download the scanning app, and start turning everyday objects into digital models!










Leave a comment
This site is protected by hCaptcha and the hCaptcha Privacy Policy and Terms of Service apply.