One of the most common challenges users face in 3D scanning is tracking loss. Consistent tracking is essential for high-quality scans, whether for detailed models or large objects. This article offers a guide on avoiding tracking loss by addressing factors like working distance, movement speed, exposure settings, and surface characteristics.
Maintain an Optimal Working Distance
Tracking loss often stems from an incorrect working distance between the scanner and the object.
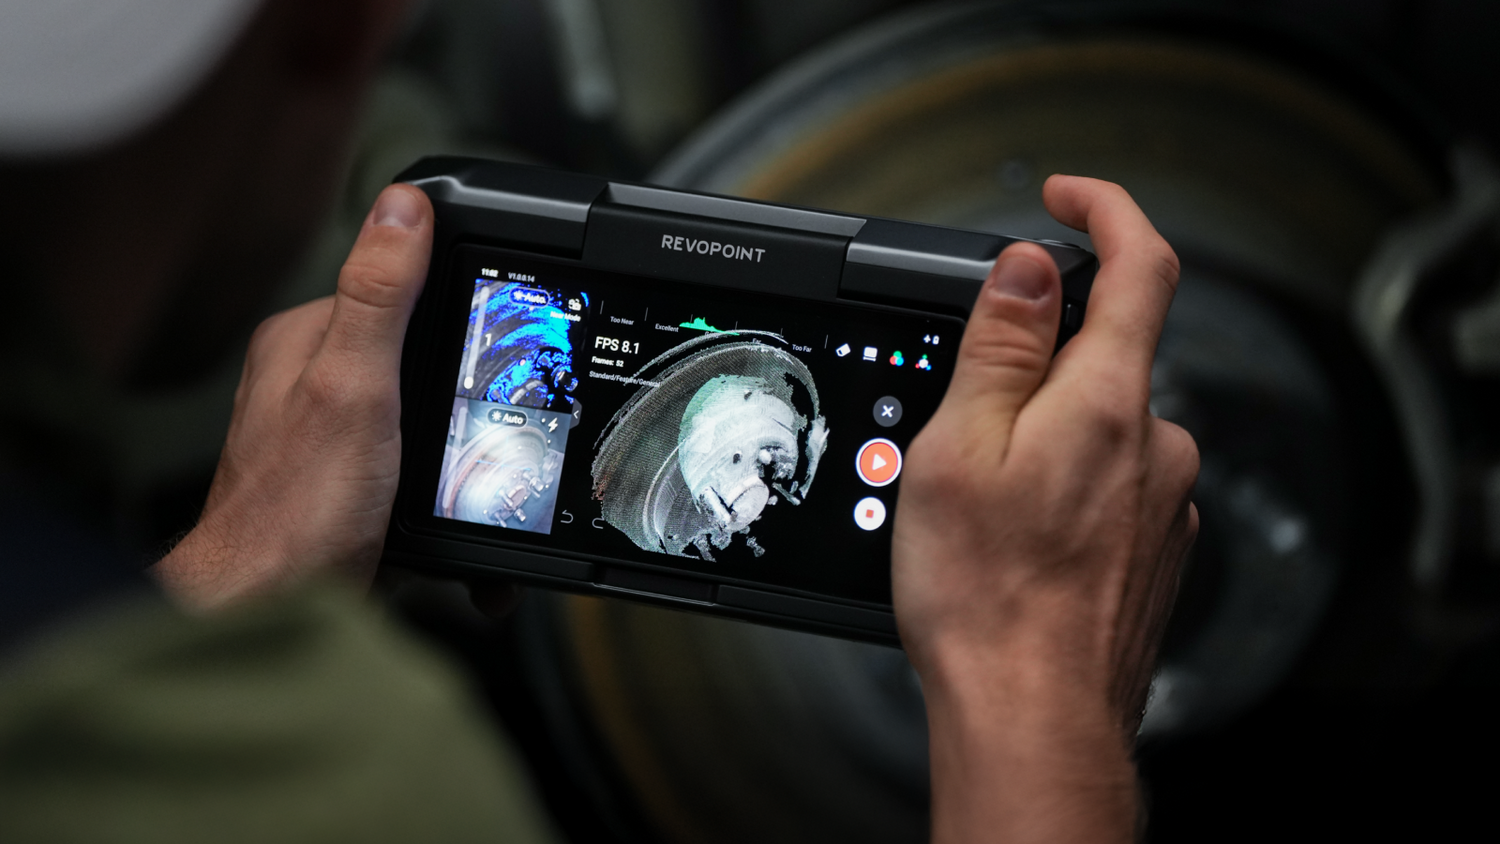
When at an optimal distance, the interface shows a green bar marked "Excellent" or "Good," indicating effective point cloud capture. However, getting too close turns the indicator orange and then red, causing the point cloud data to drop off the preview screen.
Conversely, if too far away, the preview also vanishes, and tracking fails due to a lack of point cloud data.

Real-Time Adjustment
If you accidentally move slightly out of range, it’s not necessarily a problem. Simply adjust your position in real time to return to an acceptable distance range.
However, if you go too far off-track and lose significant data, take the following steps to remedy the situation.
● Pause your scan.
● Use undo to remove any faulty frames.
● Aim the scanner at a scanned area and unpause the scan.
Avoid Rapid or Abrupt Movements
Smooth, steady motion is the order of the day with a handheld 3D scanner. Just like filming, rapid or jerky movements can lead to poor data capture or tracking failure.
Proper Scanning Technique
Scan larger objects like mannequins from one end (e.g., the head) and move gradually down, keeping a consistent speed and distance.
❌Incorrect Method Example
Rushing from head to toe without capturing surfaces inbetween will confuse the scanner and causes it to lose track.
✅Correct Method Example
Begin at the head, maintain optimal distance, and slowly move downwards in one smooth continuous motion.
Note: Always ensure that adjacent scanned areas overlap slightly so that the scanner can maintain spatial continuity.
Control Tilt Angles
Tilting your scanner helps you capture hard-to-reach areas like under chins or around necks. However, excessive tilting at high speeds can cause tracking loss as the camera may lose focus on relevant surfaces.

Recommended Practice
Tilt your scanner slowly towards targets. Avoid sudden angle changes to prevent disorienting the sensors or locking onto irrelevant backgrounds.
Set Exposure Parameters Appropriately
Exposure settings significantly impact tracking during scans. While most scanners default to automatic exposure, manual control may be advantageous in specific situations.
Understanding Depth Camera Exposure
The depth camera's exposure setting is usually located in the top-left corner of your scanner’s screen interface. It ranges from minimum on the left to maximum on the right.
● Underexposed (Blue): This means there is insufficient light reflection, so you must increase the exposure.

● Overexposed (Red): This means too much reflection, so you must decrease the decrease exposure.

● Automatic Mode: This is generally recommended for most users because it allows real-time adaptation based on ambient lighting conditions.

● Manual Mode:
○ Use lower values when scanning highly reflective objects or white surfaces that easily bounce back light.
○ Use higher values when working with dark-colored objects that absorb more light.
Note: In Auto mode, move slowly to allow your scanner about half a second to adjust exposure levels. (A slight mix of red and blue is ok).

Adjust Settings Based on Object Color
An object's color and surface finish significantly affect light reflection and absorption rates, which are crucial for effective tracking.
|
Color Type |
Surface Characteristics |
Recommended Exposure Setting |
|
White |
High reflectivity |
Lower exposure |
|
Black |
Absorbs significant light |
Higher exposure |
|
Mixed |
e.g., black-and-white panda |
Use Auto mode |
For example:
● A white surface requires lower exposure levels.

● A black surface may need maximum exposure, especially if it is matte.

Note: Some dark objects may still appear underexposed in preview mode even at maximum exposure settings. In such cases:
● Set object type as "Dark" within the scanning software.
● Use additional lighting if necessary. (Rechargeable Mini LED Light)

Dealing with Mixed Colors and Textures
Some objects contain both light and dark areas. For example, a panda figurine with black ears and white body parts. In such cases:

● Set object type as "General."
● Use "Auto" for exposure settings so that the scanner adjusts dynamically across different regions of color contrast.
This method ensures more balanced data capture across varying surface tones without manual intervention mid-scan.
Consider Surface Material Properties
Reflective materials, like toy glass eyes or polished plastics, challenge most consumer scanners as they struggle to register depth accurately.
Example
A black lion figurine of shiny plastic may not scan well, even at maximum exposure with the “Dark” object type. The preview could show incomplete point clouds or none, leading to tracking loss and scan failure.
Recommended Solution
Apply a temporary scanning spray to cover the overly reflective or transparent surfaces before beginning your scan.
These sprays create a uniform matte finish that allows scanners to detect surface geometry more reliably without permanent alteration of your object’s appearance.
Using spray treatment is standard practice across industrial applications where accurate modeling is required.
Note: Most professional-grade sprays evaporate after use, leaving no residue or damaging delicate surfaces, making them safe for sensitive items like antiques and electronics.

For more details, watch:
Tutorial Video:










Leave a comment
This site is protected by hCaptcha and the hCaptcha Privacy Policy and Terms of Service apply.