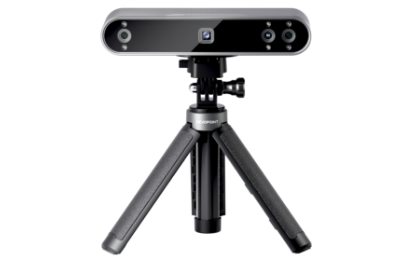
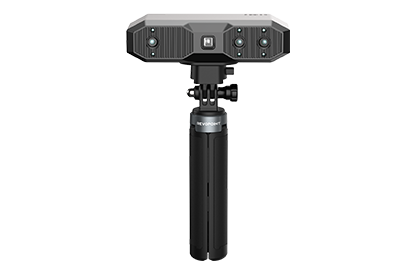
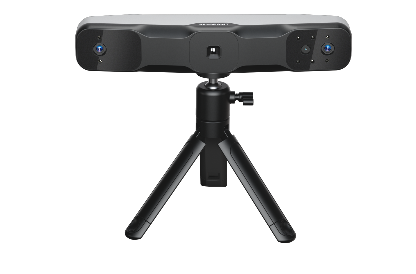
Meet the world’s first metrology-grade accuracy solution that costs under $2000 with the new Photogrammetric Metrology Kit (PMK) and Revopoint MIRACO Plus 3D scanner combo. This powerful pair smashes the cost barriers preventing individuals and small businesses from capturing large objects like cars, aircraft or ship parts, and large machinery with metrology-grade accuracy.
Metrology-grade Accuracy
When combined with the MIRACO Plus, the PMK offers an impressive photogrammetric length measurement accuracy of up to 0.02 mm + 0.05 mm per meter. This is the base accuracy, which remains constant, plus an additional error per meter that increases proportionally for every meter gained.
For example, if the measurement distance is 2 meters, the total error will
be 0.02 mm + 0.05 mm x 2 m = 0.12 mm. This ensures that accuracy is maintained within acceptable tolerances for manufacturing, prototyping, and reverse engineering applications.

Dynamic Duo
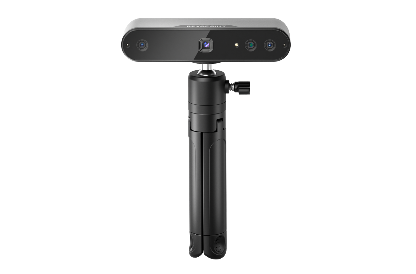
MIRACO Plus
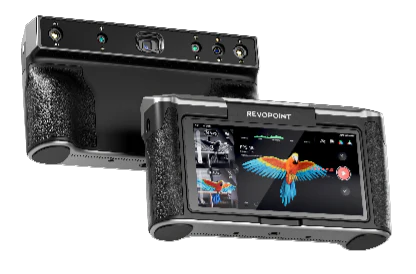
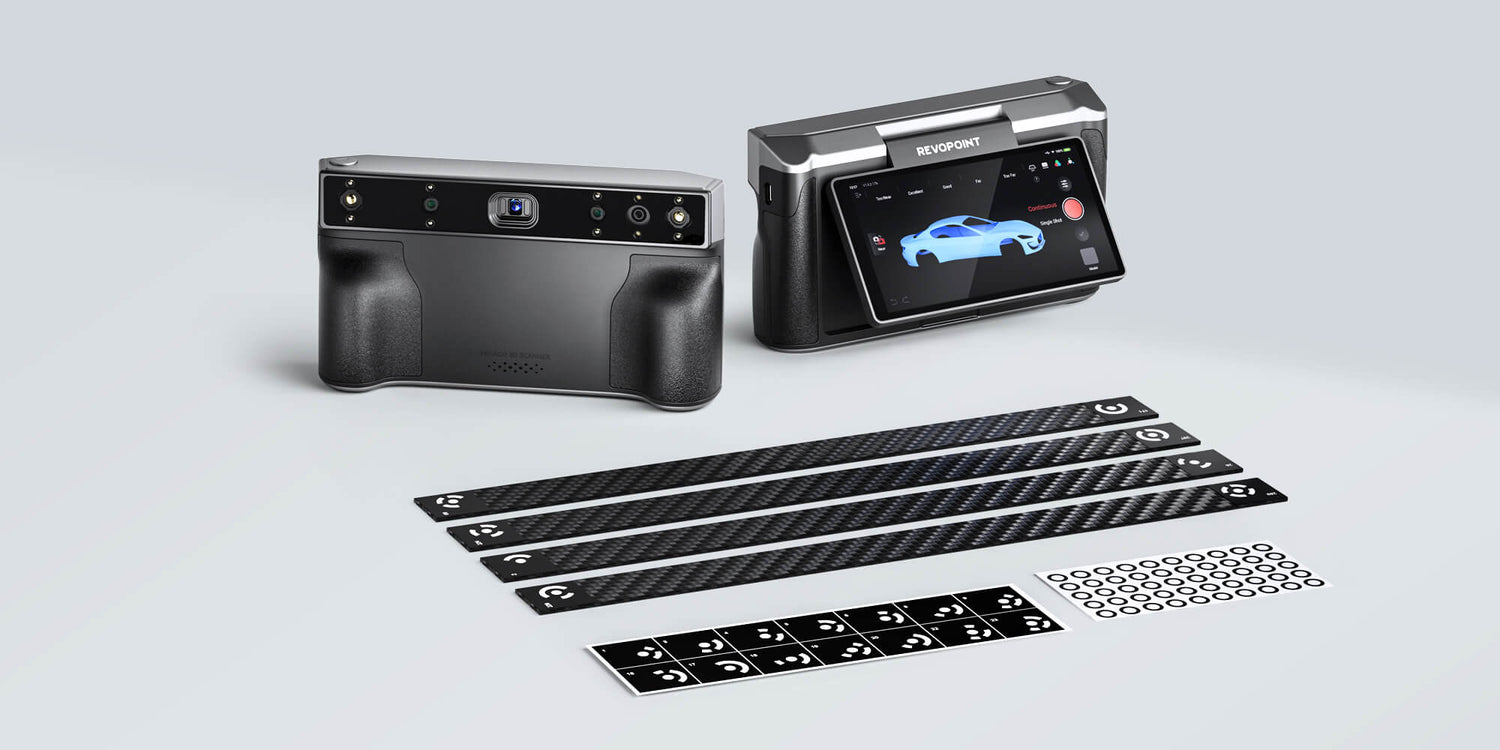
The MIRACO Plus, with its standalone small-to-large object scanning, retains everything that made the MIRACO a Reddot Award-winning device and adds to its capabilities. It now boasts 20% more accuracy (up to 0.04 mm), 33% faster scans (up to 20 fps), a new infrared optical zoom (1.5x and 2x) for increased detail capture, and, of course, the brand-new Photogrammetric Metrology capture mode.

Photogrammetric Metrology Kit
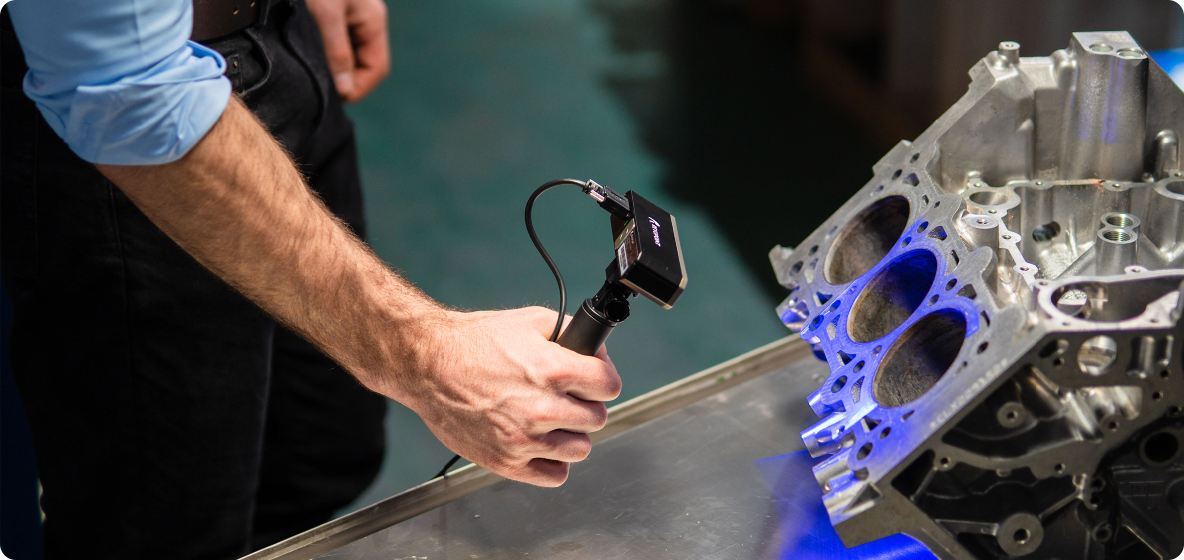
The PMK enables users to capture large objects such as cars, ship parts, or machinery with metrology-grade accuracy. It includes everything needed to prepare a large object for capture, including 4 high-precision magnetic scale bars ensuring size accuracy, 2 sets of coded targets (magnetic x 208 and sticky x 208) providing reference points, and markers enabling large surface areas to be properly covered. And for your convenience, it all comes in a durable and portable aluminum alloy carry case, making transportation to work sites a breeze.

How They Work Together
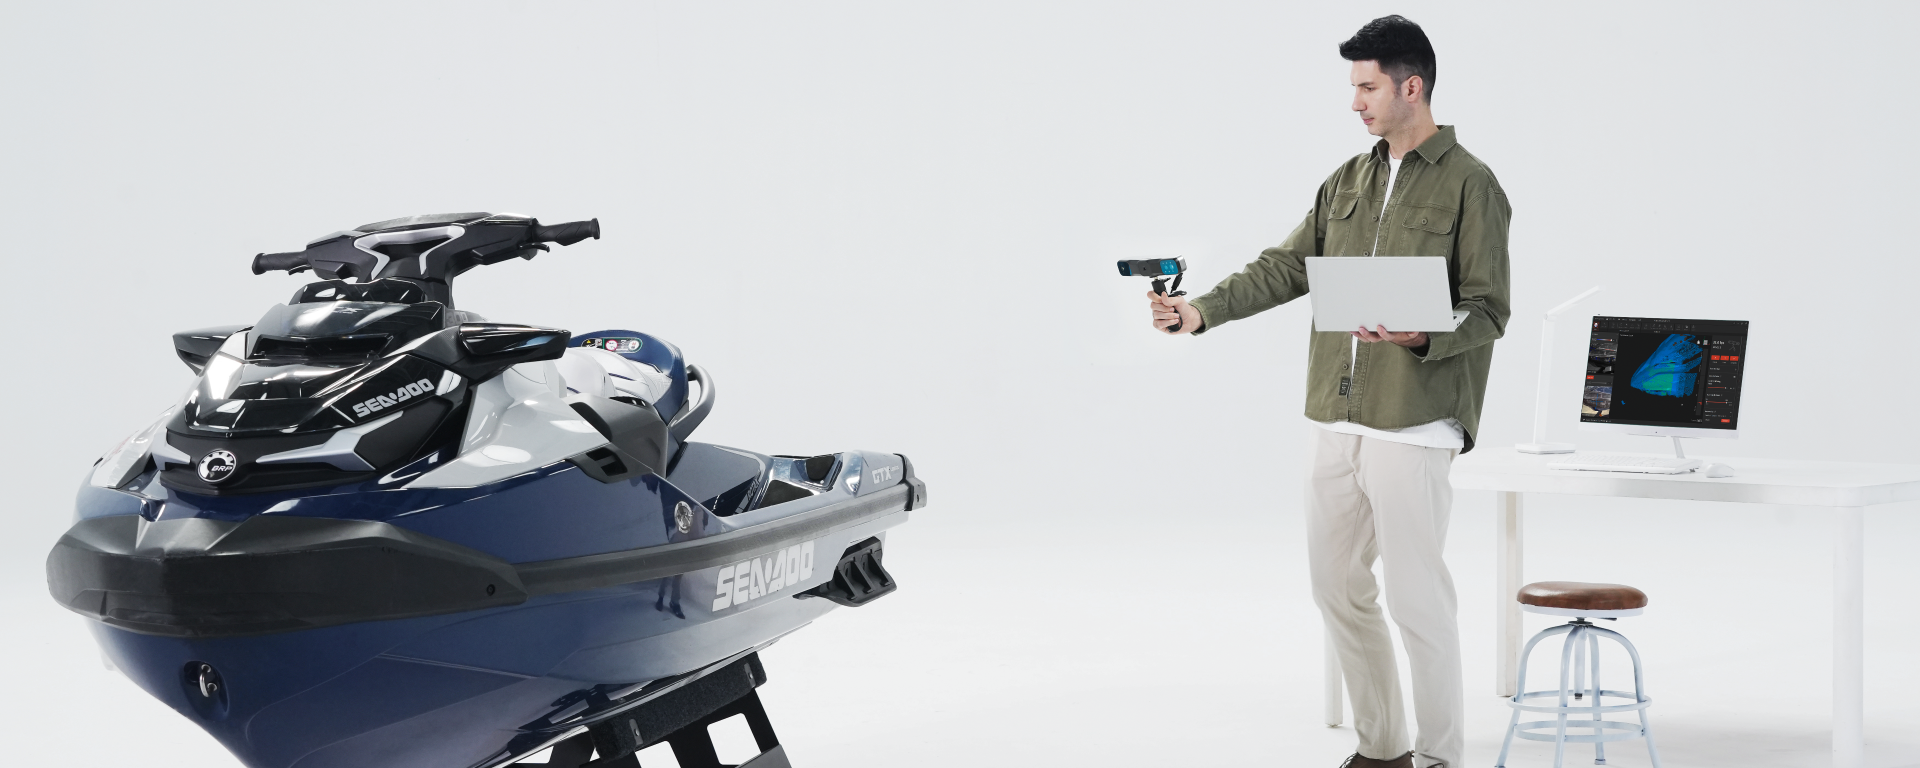
You place the scale bars, coded targets, and markers on or around the surface and then use the MIRACO Plus’s 48-megapixel RGB camera to capture many images from different angles and directions. These images are analyzed during the global coordinate process to create a framework to guide the point cloud scanning.
Why is This a Game Changer?
Typically, for this kind of metrology-grade accuracy, you’d be looking at an eye-wateringly expensive $20,000+ for the equipment. Not so, with the MIRACO Plus and Photogrammetric Metrology Kit coming in at a staggeringly more affordable price of under $2,000, which opens up access to individuals and small businesses.
Moreover, the whole process can be done onboard the MIRACO Plus 3D scanner, using its powerful hardware to capture, process, and edit the scan without transferring it to a PC for maximum capture convenience.

What Can You Do With the PMK?
Precise Manufacturing
Reduce the risk of errors and improve product quality with accurate data, ensuring the produced parts meet the specifications.
Enhanced Quality Control
Quickly detect and correct deviations from design specifications, leading to fewer defects and higher consistency in production.
Efficient Prototyping
Rapidly iterate and test prototypes to speed up the development process.
Better Fit and Function
Ensuring parts fit together perfectly is crucial in many applications, from automotive to aerospace.
Improved Reverse Engineering
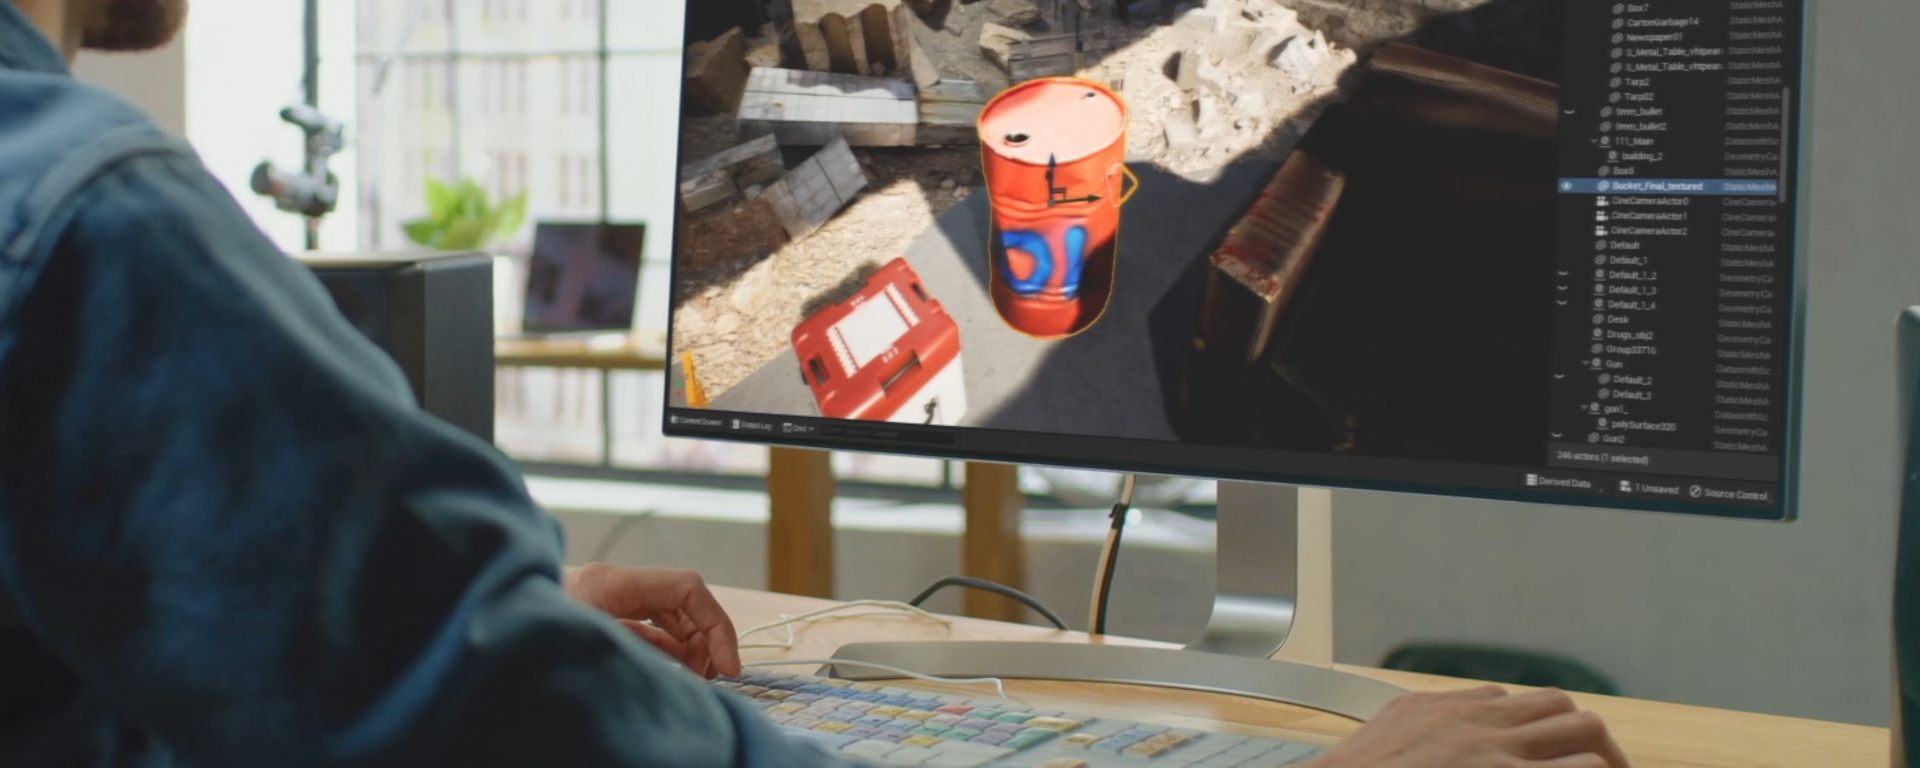
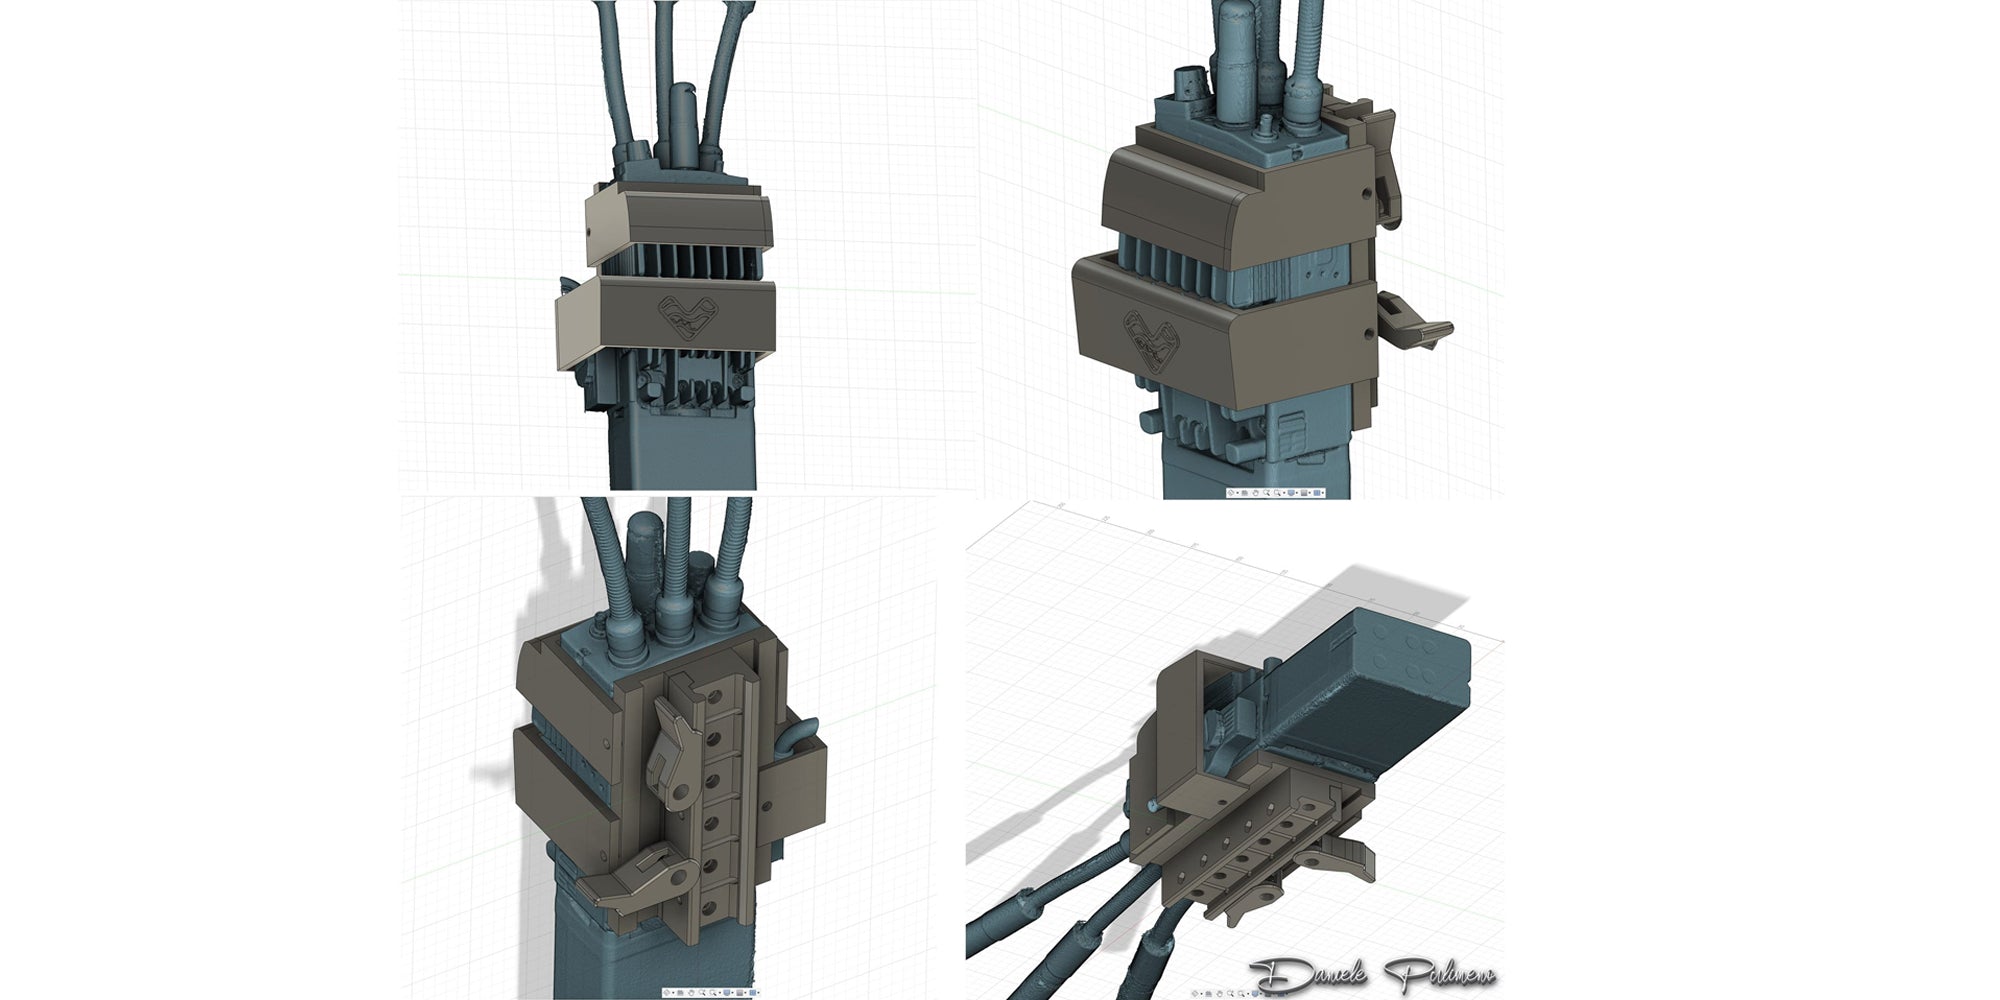
Create ultra-accurate digital twins of legacy or complex parts for reverse engineering or design improvement.










Leave a comment
This site is protected by hCaptcha and the hCaptcha Privacy Policy and Terms of Service apply.