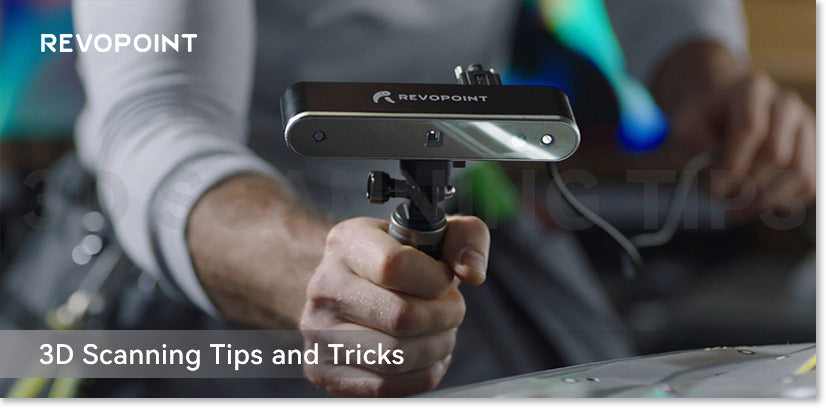
Level up your 3D scans with these helpful 3D scanning tips and tricks for getting the perfect scan with your Revopoint 3D scanner.
Depth Camera Range Adjustment
In one of the recent Revo Scan updates, a new feature was added that helps eliminate unwanted elements from scans. The depth camera range adjusting slider lets you control the minimum and maximum distance the depth camera will capture objects. With some adjustment, you can remove most unwanted things from your scan before you even start.

Remove Plains
Another handy feature in Revo Scan is the Remove Plains check box, that when ticked, will automatically remove any flat surfaces like tabletops, floors, or walls from your scan, saving you a bit of time when it comes to cleaning up your scan in post-processing.
Scanning Spray
An essential aid for getting scans of dark, transparent, or shiny surfaces. The good stuff from AESUB is expensive, too expensive to use as everyday scanning spray, and is best reserved for scanning delicate hard-to-clean items. So let’s look at the alternatives that work just as well, other than needing to be cleaned off. The generally recommended options are dry shampoo, talcum powder, athletes’ foot spray (some people swear that this is the best one), and making your own.
To make your own, you need a spray bottle, 70% isopropyl alcohol, and non-nano zinc oxide powder (it’s skin safe, but don’t eat any). Put the alcohol in the spray bottle, add about half a teaspoon of powder, and mix until it dissolves. If you’re feeling particularly fancy, you can use an airbrush instead of a spray bottle. Best of all with this mix is that once the alcohol has dried, the zinc oxide powder is easy to brush or vacuum off.

Accuracy Settings
Think about what you’re scanning before you select an accuracy setting. If it’s an object with many flat plain surfaces, then Fast Scan is ok, as there aren’t any delicate details that need capturing, and it’ll help to make your models easier to process as the file size will be smaller.
An object with complex detailed surfaces is best scanned using High Accuracy Scan, assuming you care about the details being fully captured. You can also split your scan up, using Fast Scan for the flat surfaces and High Accuracy Scan for the detailed ones, then merge your scanned models when finished in Revo Studio or Meshmixer.

Distance for Maximum Details
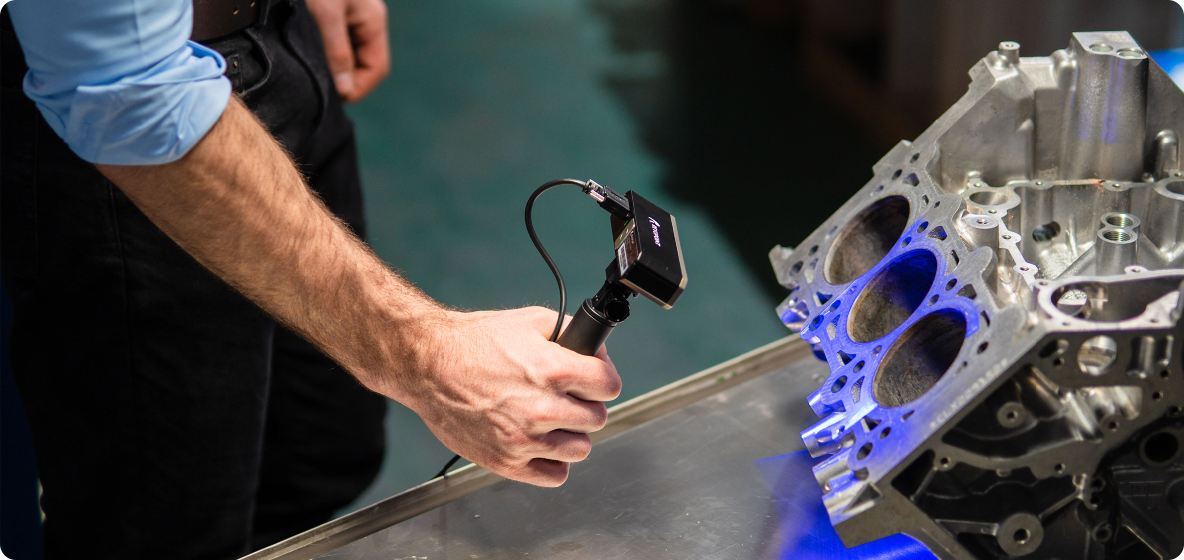
If capturing the finer details is essential to your scan, you need to get your scanner close to the object as possible without being too close. And unless you’re very good at eyeing distances, you will need a ruler or tape measure to do this. Below you can see the exact minimum distance for each Revopoint scanner. If scanning something relatively small, you may need to raise it higher on a glass or stand so the scanner can better view it.
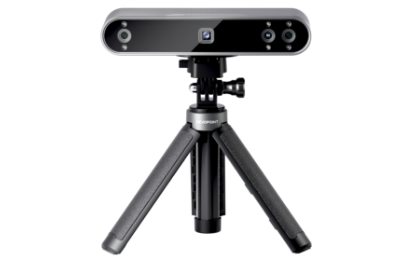
POP = 175mm
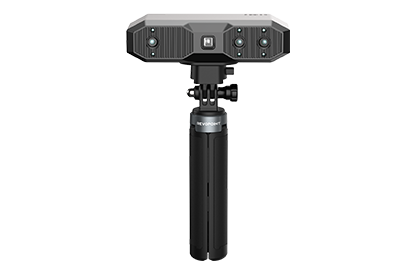
POP 2 = 150mm
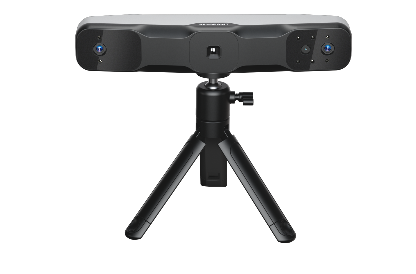
MINI = 100mm
However, keep in mind that the closer you get to an object, the fewer features the scanner will have in its field of view to track, so it’s more likely to lose track.
Optimal Distance for Scanning
This is the distance at which the optimal balance between object tracking and detail meets. This is best used when capturing the object’s dimensions is the primary goal.
POP: 225mm
POP2: er]200mm
MINI: 150mm
Adjusting an Objects Angle
Picking an object’s best angle for a scan can make a massive difference to the quality of your scan and the ease of capturing the item. For example, if you’re scanning a cup, rather than doing two scans, one with the cup the right way up and one on its side to capture it entirely, just flip the cup upside down and scan it once to capture the entire object, as you don’t need to capture the inside of the cup to make a complete 3D model.
So consider an object’s shape and what you need to capture to make a successful 3D model before you start the scan.

Scan Once
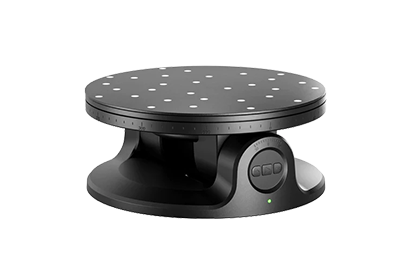
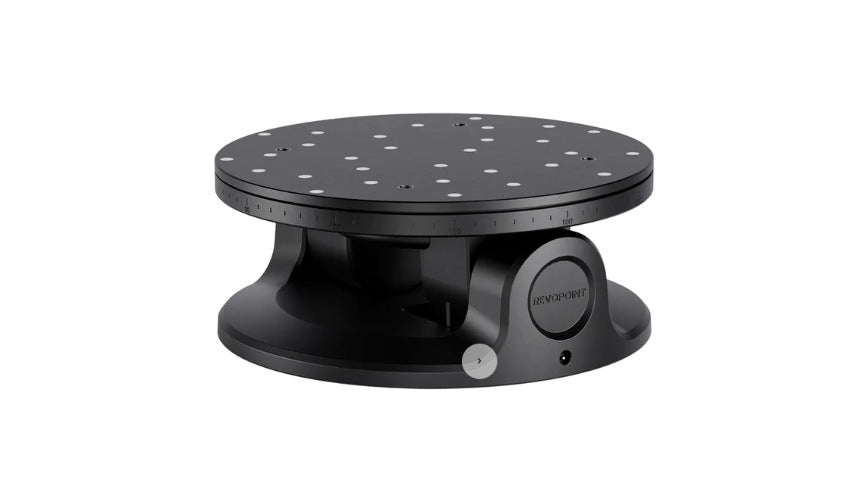
Capturing multiple frames of the same area does not make for a better scan. In fact, it will ruin your details. So scan each section only once, and try to avoid scanning the same part multiple times. Using a turntable makes this easier to achieve, but remember, only one rotation is necessary. Then, adjust the object’s position if you need to capture other surfaces. Don’t have the turntable rotating too slowly, or the scanner will capture the same surface multiple times.
And that’s it for all our 3D scanning tips and tricks. Go on and try a few. You’ll be surprised at the difference they can make.










Leave a comment
This site is protected by hCaptcha and the hCaptcha Privacy Policy and Terms of Service apply.