Adjusting the exposure of your Revopoint 3D scanners’ depth cameras’ is super important to get an accurate 3D scan because if the cameras’ have the wrong exposure, they’ll fail to capture the object’s surfaces. So this quick guide will teach you how to set it correctly. Likewise, if doing a color scan adjusting the RGB camera’s exposure is essential for an accurate color scan.
What is Exposure?
No, we don’t mean what influencers crave, but like regular cameras, exposure is how much light reaches the camera’s sensor. So when we adjust the exposure on the Depth or RGB camera by increasing or decreasing the amount of light that goes to the camera’s sensor.
As all the cameras have a fixed focus and aperture, adjusting the exposure on a Revopoint 3D scanner only changes the ISO, making them much easier to deal with than a standard DSLR camera.
Where Can You Adjust It?
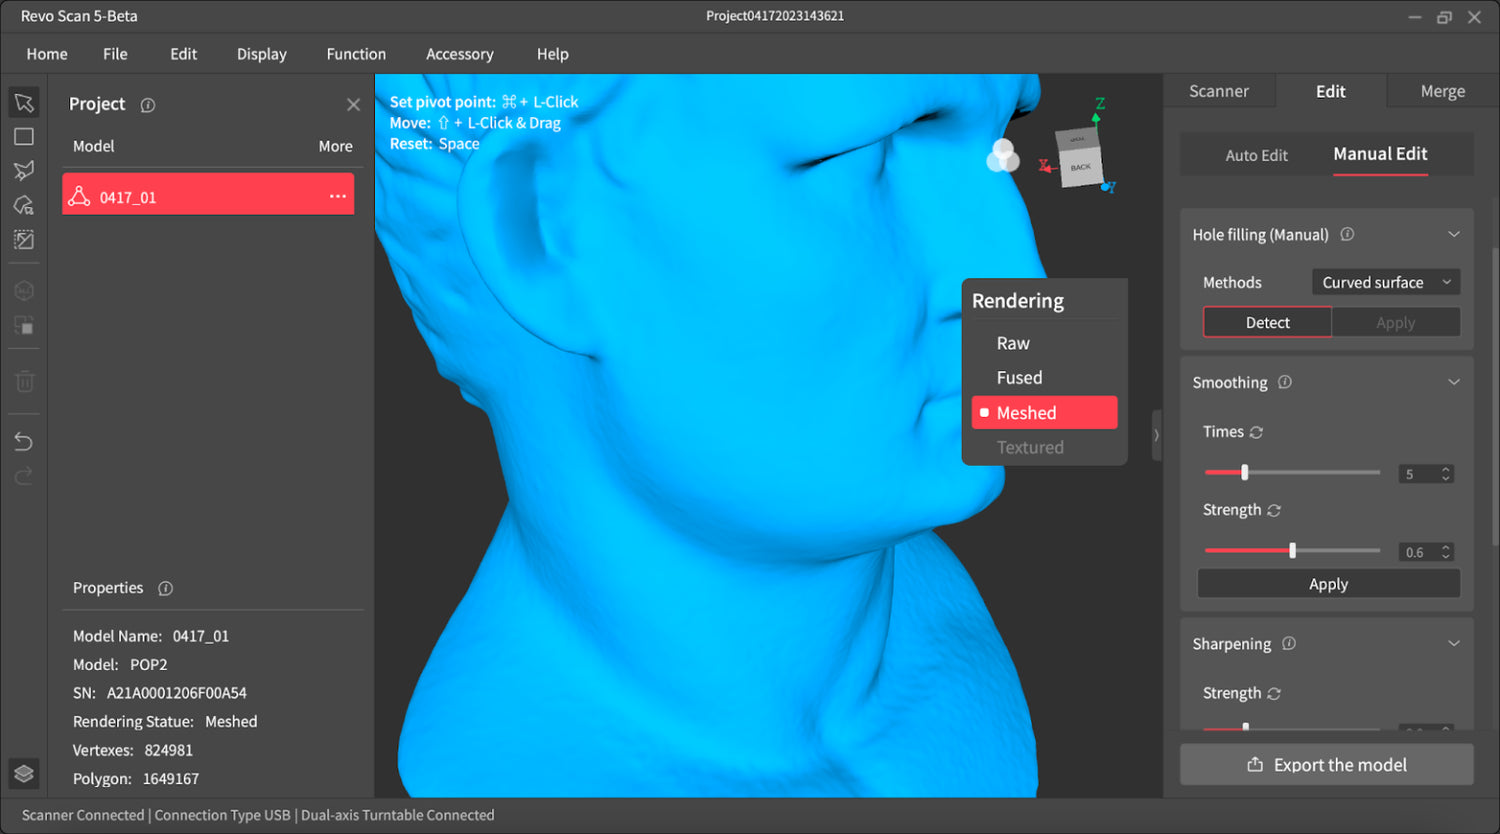
You can adjust the Depth or RGB Cameras’ settings in two places in Revo Scan. One is the home screen, as seen below.
And the other is in the scanning interface.
Adjusting the Depth Cameras’ Exposure
Look at the preview window and observe the object as you adjust the sliders. You’ll probably notice some red and blue patches on the object. Adjust the slider till the object is clearly defined in the preview window and there are as few blue and red patches as possible.
Removing all the red and blue splotches may not be possible depending on the lighting and the object’s surface, but as few as possible is ok for most scans.
You can try the auto setting, but it doesn’t always get it right, so manually adjusting it yourself is better.
Adjusting the RGB Camera’s Exposure
Adjusting the exposure on the RGB camera is pretty straightforward, and setting it to auto works reasonably well most of the time. If adjusting it manually, move the slider till your object is clear and the colors look crisp.
And just like that, by adjusting the exposure, you can get much better results doing a scan. So don’t forget to do it before every scan.















Leave a comment
This site is protected by hCaptcha and the hCaptcha Privacy Policy and Terms of Service apply.