


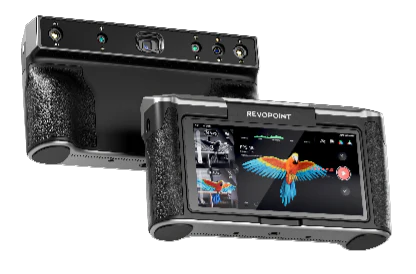

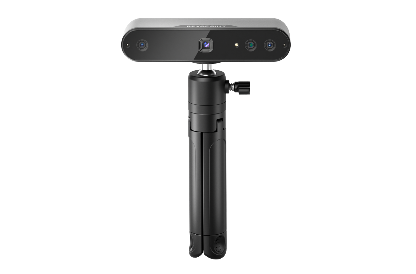


From screws to cars and everything in between, the Revopoint MIRACO can scan them all with its advanced Near and Far mode scanning capabilities. However, to maximize the benefits of the MIRACO, you need to understand the best ways to use both of these modes.
Far Mode
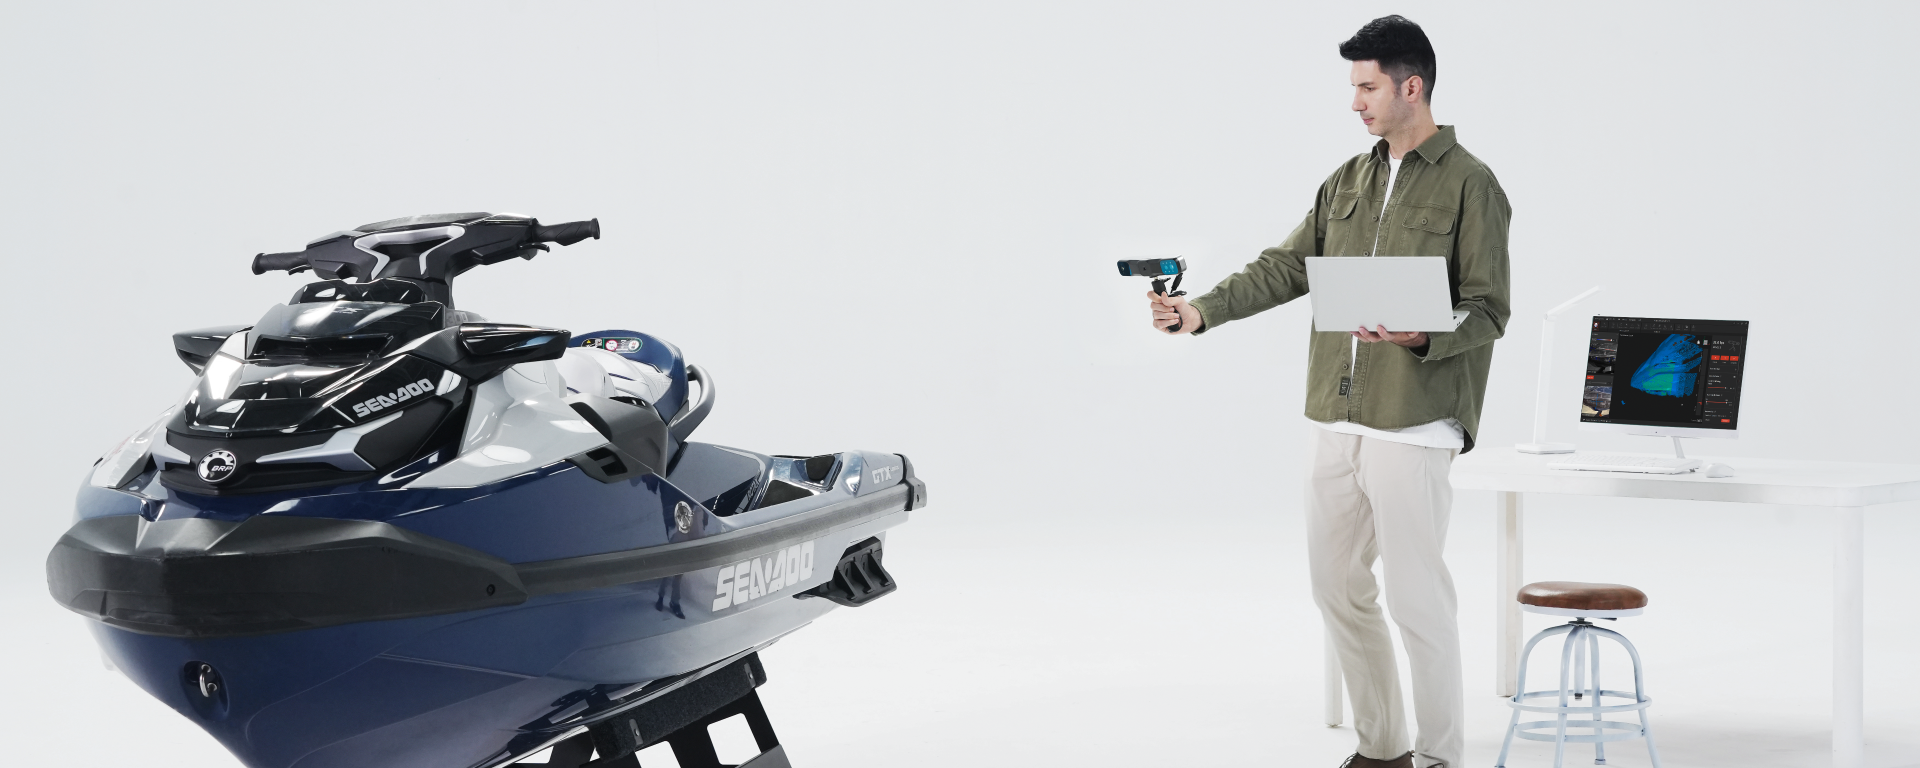
● Single Capture Area at Furthest Distance: 975 x 775 mm at 1000 mm
● Single-frame Accuracy: Up to 0.3 mm
● Captures Large Objects: Large vehicle parts, vehicles, statues, etc. (Click to view models)


Near Mode
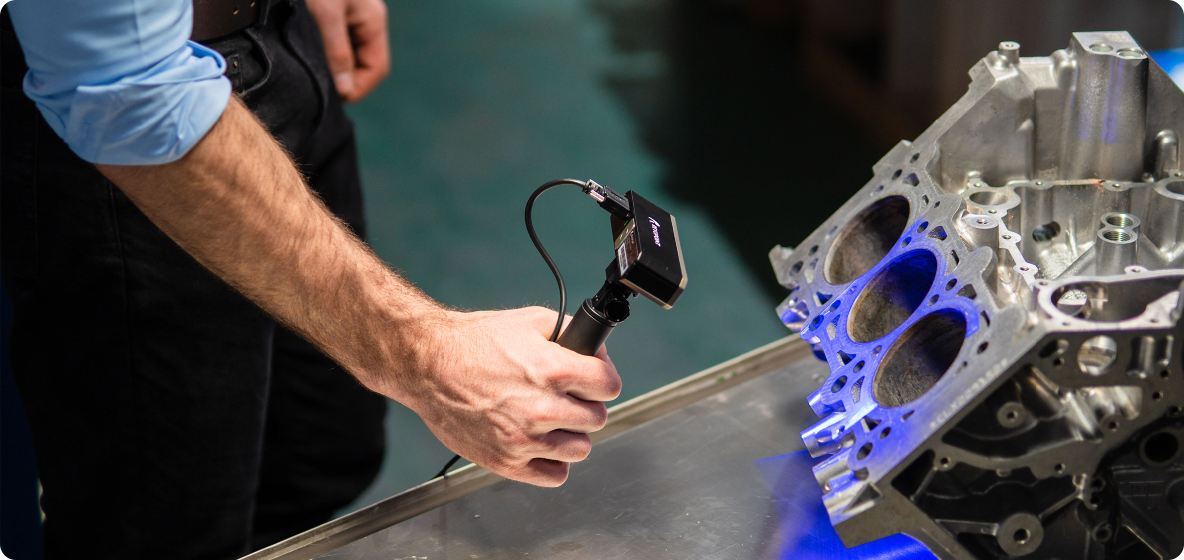
● Single Capture Area at Nearest Distance: 28 x 53 mm at 100 mm
● Single-frame Accuracy: Up to 0.05 mm
● Captures Small Objects: Screws, dental molds, small industrial parts, etc.


So, how do you use these scanning modes? How do you choose the correct mode? How can you maximize the benefits of far and near scanning? Read on to find out.
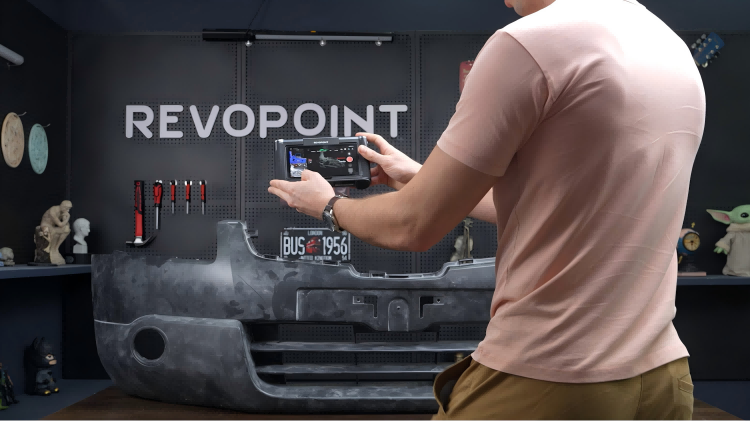
How to Scan Large Objects (Example: Scanning a Vehicle's Bumper)
Before Scanning
Set the scanning parameters in the scanning settings according to your needs, including Accuracy, Alignment, Object Type, and whether to enable a color scan.

After selecting your scan's settings, manually adjust the depth cameras' exposure or set it to auto. If you're also doing a color scan, change the RGB Camera's exposure, and if needed, change its white balance.

Start Scanning
Using Far Mode
Ensure MIRACO is in Far Mode and the scanning distance is shown as either Excellent or Good. Start scanning and move MIRACO steadily alongside the bumper. After finishing, tap pause to check the point cloud model. If ok, tap "√" to complete and proceed with post-processing, including point cloud fusion, merging, and hole filling without exporting the model.


(Scanning Distance in Far Mode.)
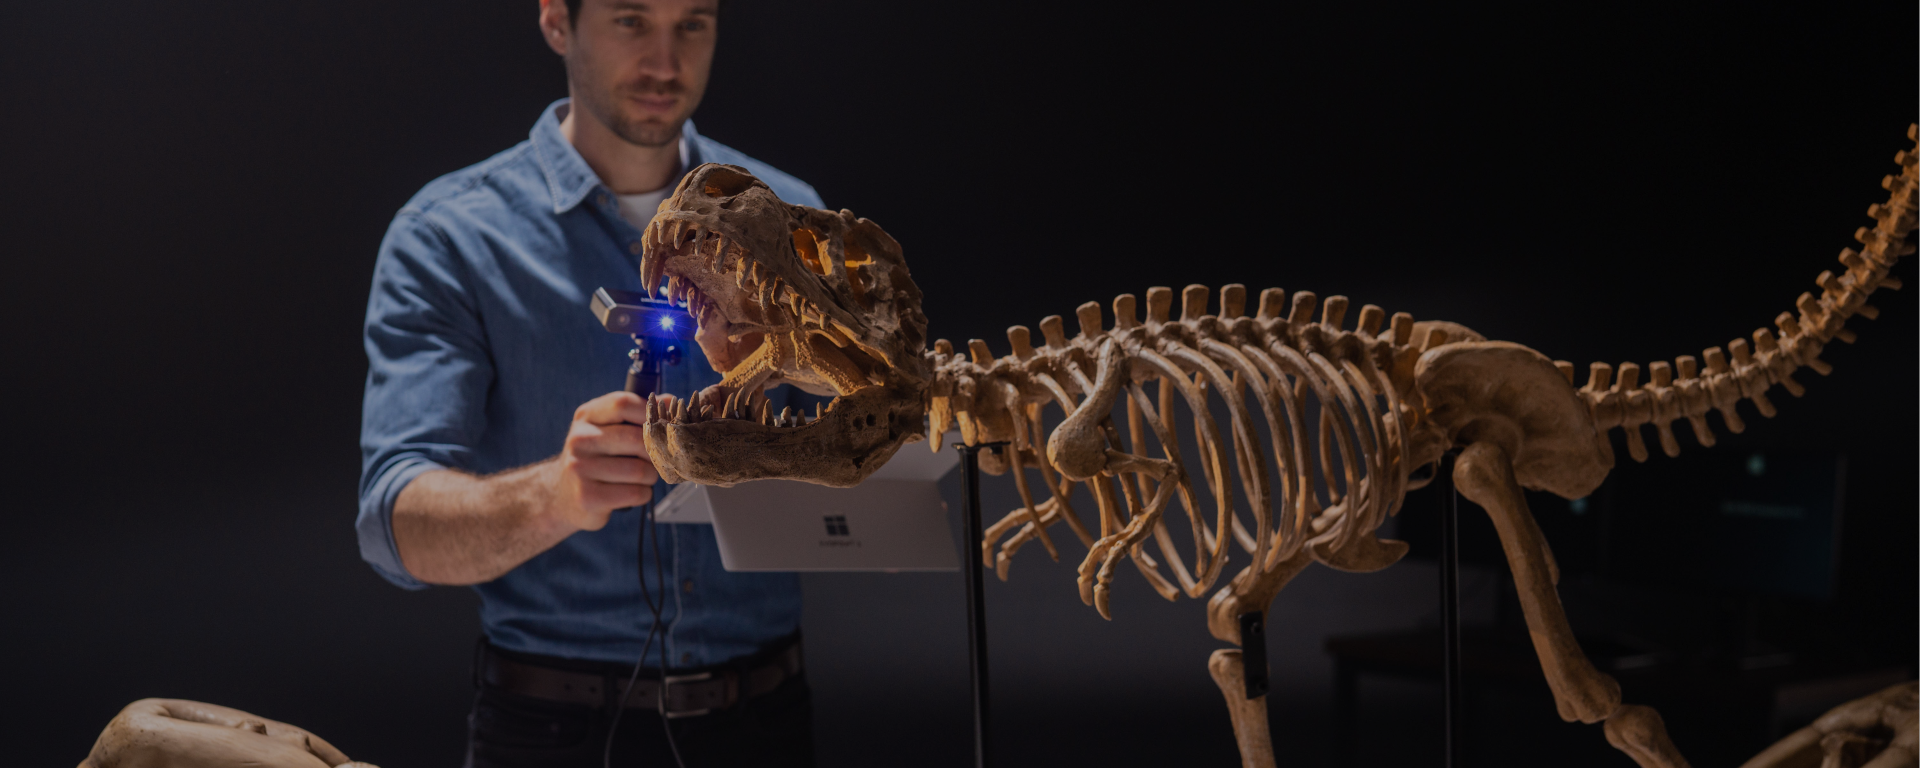
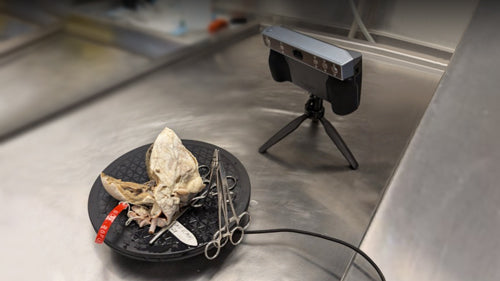
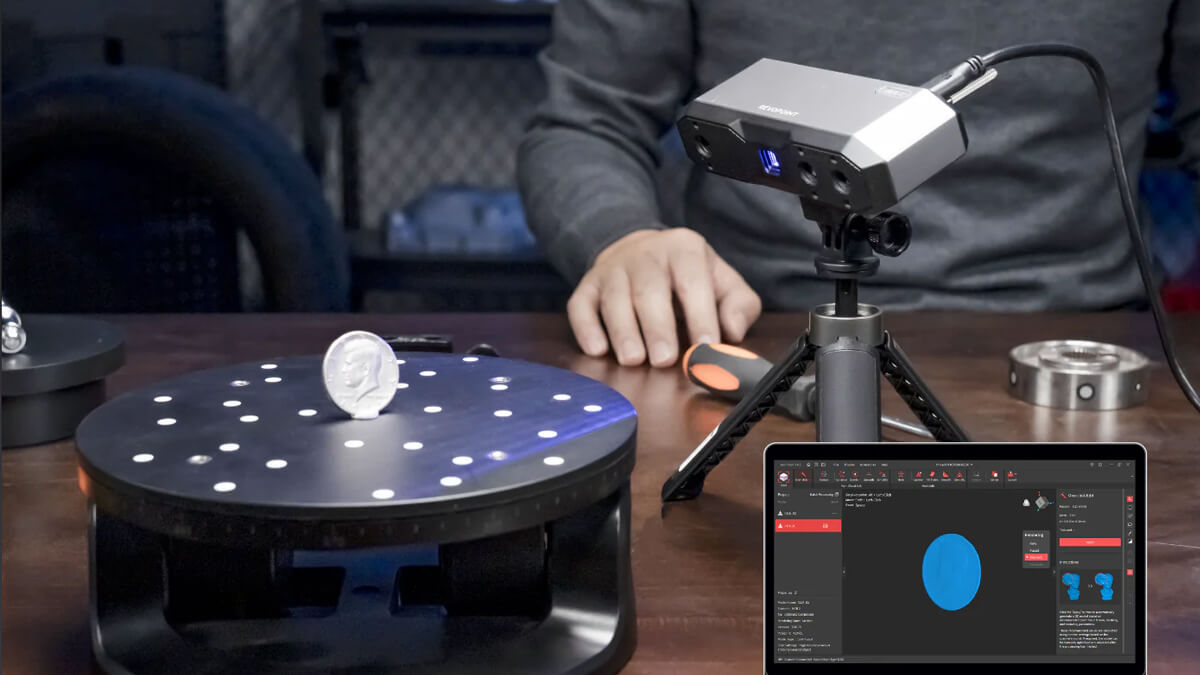
How to Scan Small Objects (Example: Scanning a Tooth)
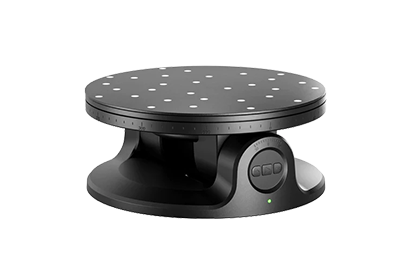
Scanning small objects needs stability because movement can cause shakes that affect the results. Use a Portable or Dual-axis Turntable to rotate the object smoothly rather than moving the scanner.
Using Near Mode
Place your object on the turntable and turn it on. Choose Near Mode on MIRACO, then adjust the scanning modes, depth camera exposure, and other settings before starting.

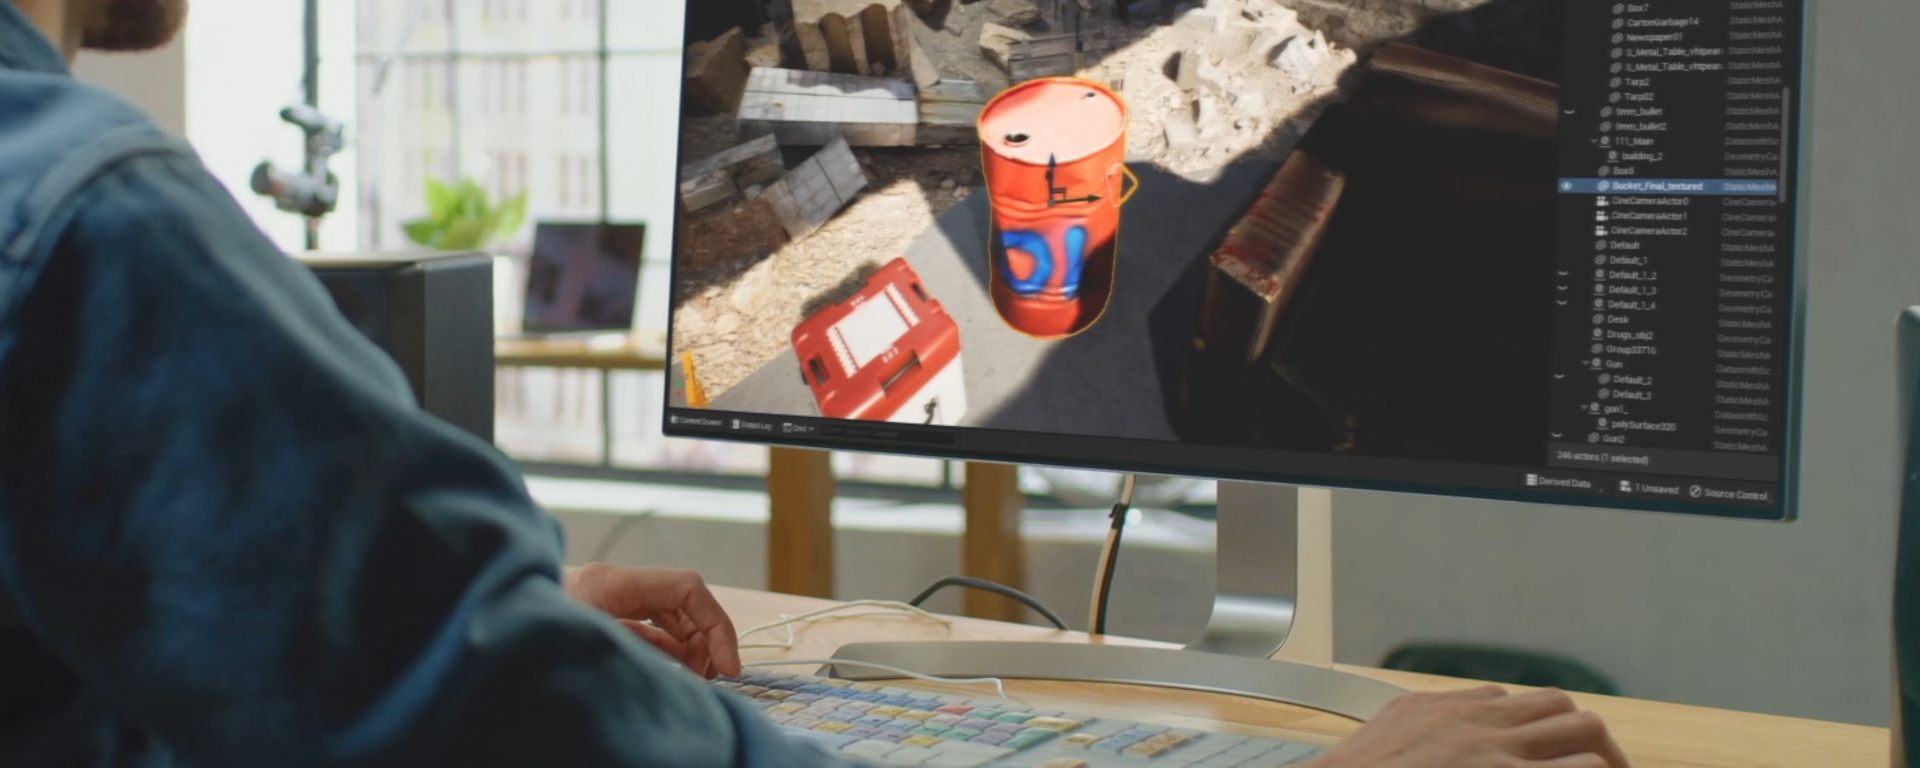
Begin the scan and allow the turntable to complete a full rotation. Then, pause the scan to verify if the scanned point cloud model is complete. If it meets your expectations, finalize the scan and post-process the model.

(Checking the Model)
How to Scan Medium-Sized Objects (Example: Scanning a Whale Figurine. Recommended Accessory: Portable Turntable or Dual-Axis Turntable)
When scanning medium-sized objects, you can use MIRACO's Far Mode or Near Mode to capture the item, depending on your specific needs.
Using Far Mode Scanning
Select Far Mode if you don't require the fine details to be super sharp in the final 3D model. Using Far Mode will also get the scan done quite a bit faster than using Near Mode.

(Bigger Scanning Area.)
Using Near Mode Scanning
Select Near Mode if you require all the fine details to be captured. Keep in mind that due to Near Mode's smaller capture area, the scan will take longer and will be trickier.

(Start Scanning at the Top.)

(Sharper Details.)
How to Swap Between Far Mode and Near Mode Mid-Scan (Example: Body Scan. Recommended Accessory: Large Turntable)
When scanning a person, you may want to ensure that certain areas, such as the face, are captured at the highest quality for a realistic 3D model. In contrast, other areas, like the torso and legs, can be captured with less detail for a faster overall scan. To achieve this, you need to switch between Far Mode and Near Mode during the scanning process.

First, select MIRACO's scan settings and use Near Mode to scan the head starting from the top. If using automatic exposure, keep the scanner stable and move slowly, as adjustments take time. For manual exposure, increase scanning speed according to the situation, but monitor distance and exposure changes closely.


After completing the scans around the hair and face, continue scanning the shoulder area using Near Mode. Once you finish scanning the head and shoulders, pause the scan and switch to Far Mode (be sure to readjust your scanning distance to Good or Excellent). Aim the scanner at the previously scanned shoulder area. Otherwise, MIRACO won't know how to connect the rest of the scan to the head. Then, restart the scan.
![]()
![]()
Tracking loss may occur when scanning from the shoulder area (as shown in the image), but this is temporary. Maintain a steady posture and optimal scanning distance, and the scanner will reacquire tracking. The more distinct the features, the faster tracking is regained.
Once you finish scanning the body and legs, you can view the model and post-process it.

Summary
Scanning Large Objects: For convenience and speed, we suggest using Far Mode. If high accuracy and detail are needed for large object scanning models and time permits, Near Mode can also be used.
Scanning Small Objects: Use Near Mode to create high-accuracy and richly detailed 3D models.
Scanning Medium-Sized Objects: You can choose based on your needs. Far Mode captures objects quickly and conveniently, while Near Mode ensures high accuracy and rich detail.
Swapping between Near and Far modes During Scans: Ensure overlapping areas are created in both modes for the scanner to continue tracking seamlessly after mode switching.
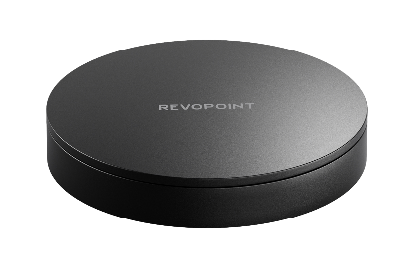
Tools to Help the Scan: Portable Turntables, Dual-axis Turntables, Large Turntables, and Markers.
Watch these Videos to See these Scans in Real Life
View the Models in the Article Here
https://skfb.ly/oNssy
https://skfb.ly/oNSAK
Leave a comment
This site is protected by hCaptcha and the hCaptcha Privacy Policy and Terms of Service apply.