


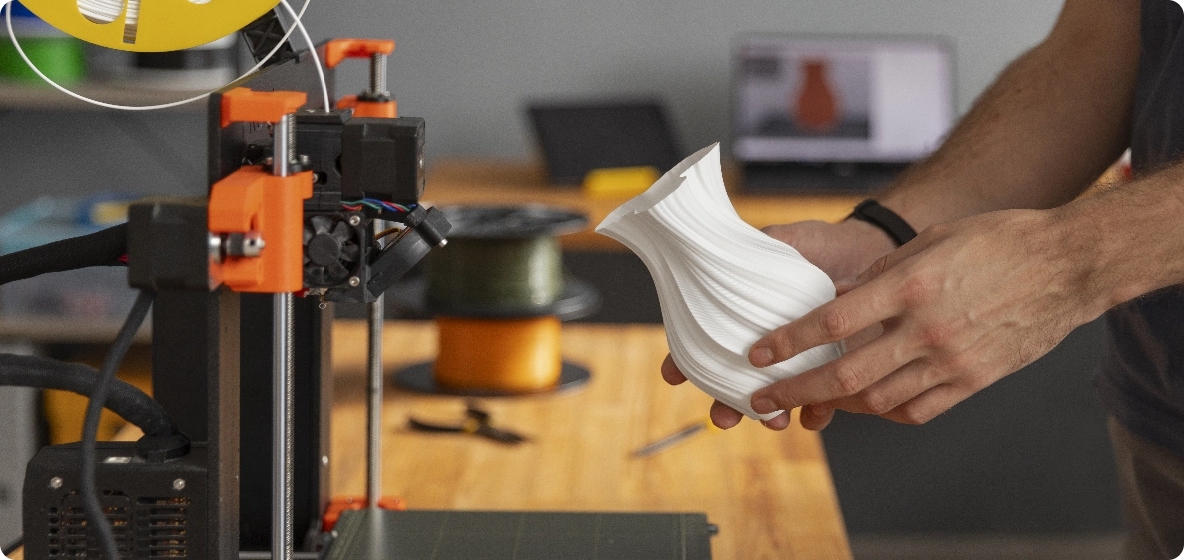


Revopoint’s 3D scanners are effective tools for the reverse engineering process in product design and development. Thanks to their measurement accuracy when digitally replicating physical objects, these scanners allow engineers to analyze, modify, and reproduce components without blueprints or the time-consuming tasks of manual measurements and CAD sketching.
However, successful 3D scanning for reverse engineering requires careful planning and execution. Below are key dos and don'ts for 3D scanning in reverse engineering projects.
Reverse Engineering 3D Scanning Dos
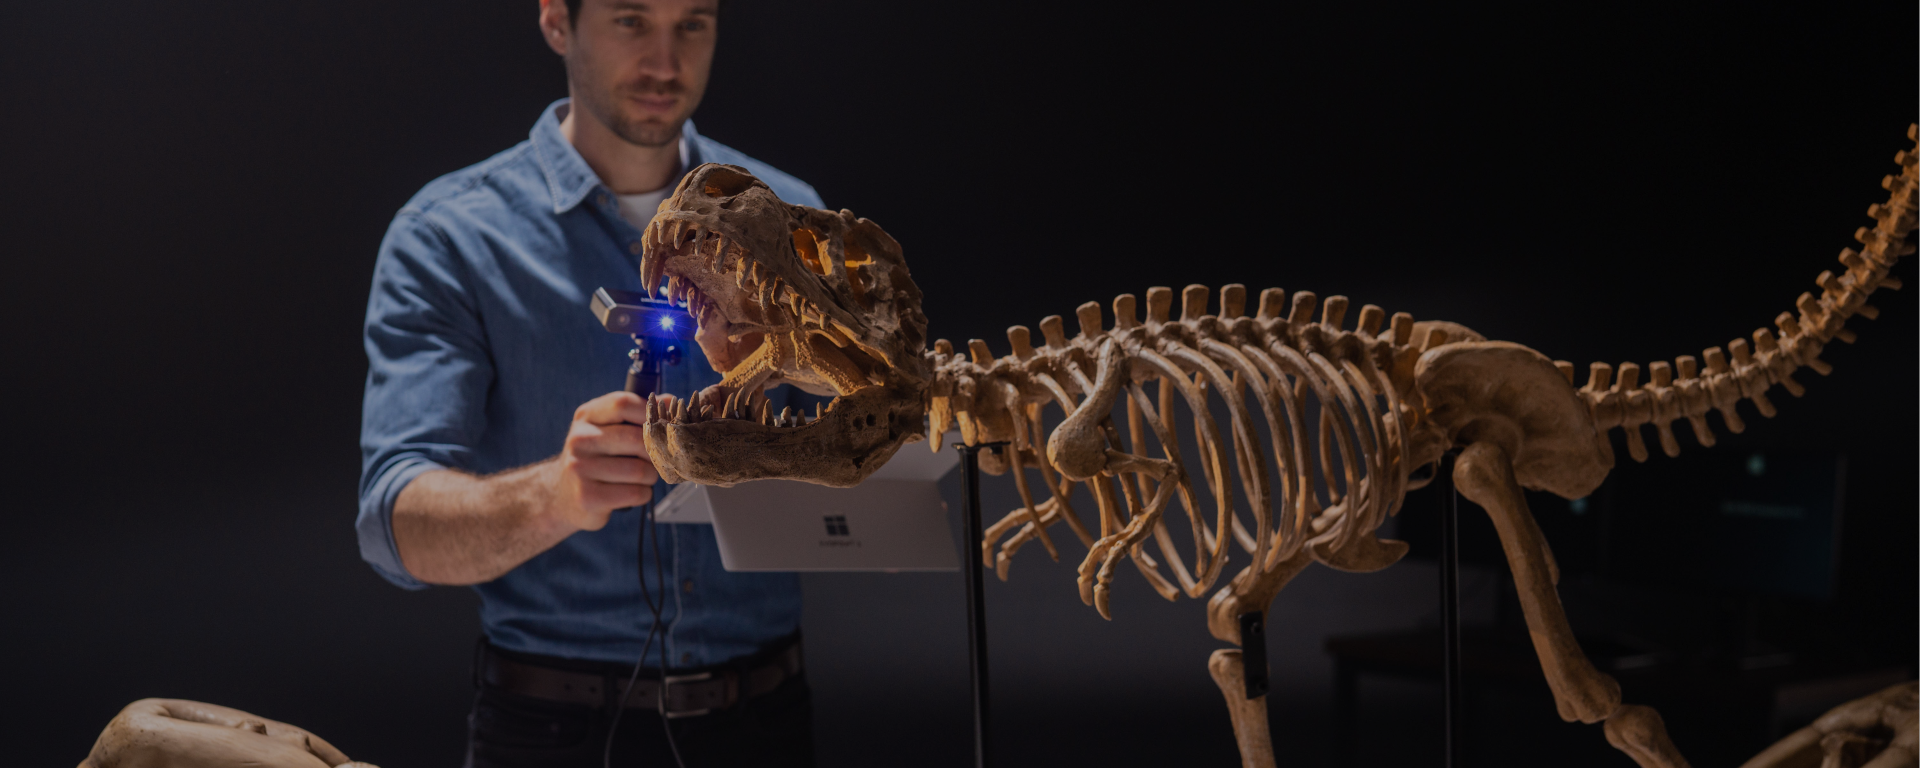
Do Understand the Object
Assessing the object you're scanning before you start the scanning process is essential to determining the optimal way to capture it. Objects with intricate geometries, small features, or complex surfaces can be more challenging to scan accurately. Also, consider whether 3D scanning is necessary. Some objects with simple geometries can easily be measured and sketched in CAD software.

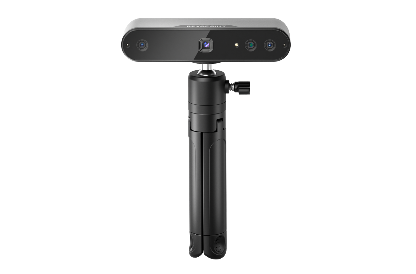
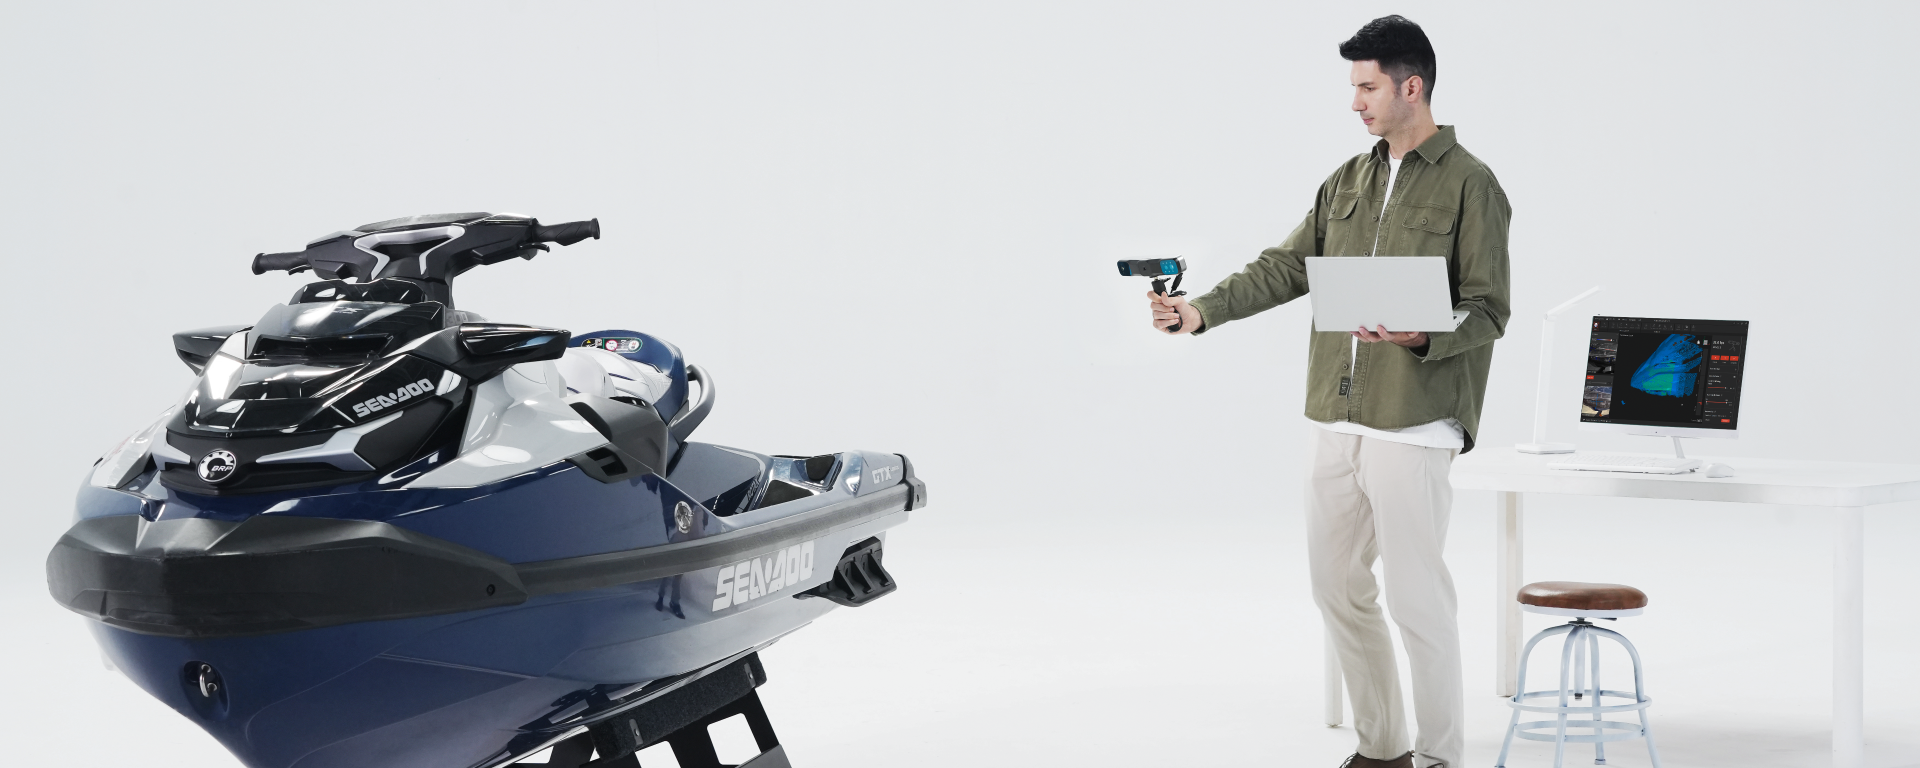
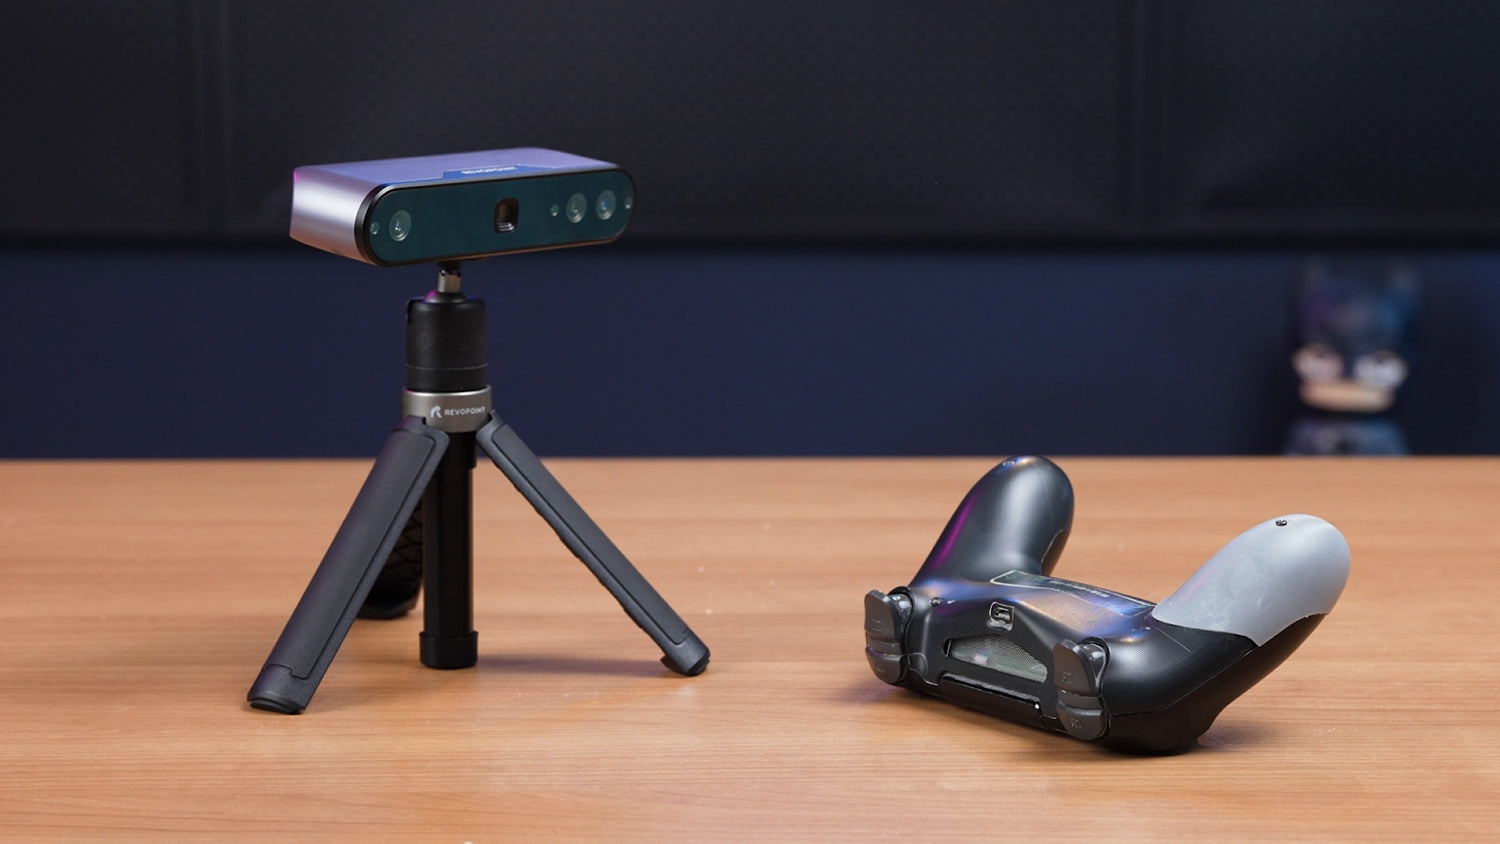
Do Select the Right 3D Scanning Technology
Not all 3D scanners are the same. Depending on whether you’re scanning large industrial objects or small detailed parts, you might need a laser or structured light scanner. Research the available options and choose the one best suited to the size, material, and level of detail required for your project.

Do Regular Calibration
Regular calibration is essential for accurate results. It ensures that the scanner's readings are consistent and accurate. Before starting any scan, check your 3D scanner’s calibration, especially if you’re working with high-accuracy applications. Even minor errors can compound over multiple scans. Fortunately, checking calibration in Revo Scan takes just a few seconds. Note: If calibrating a laser scanner, give it around 10 minutes to warm up before running the calibration process.
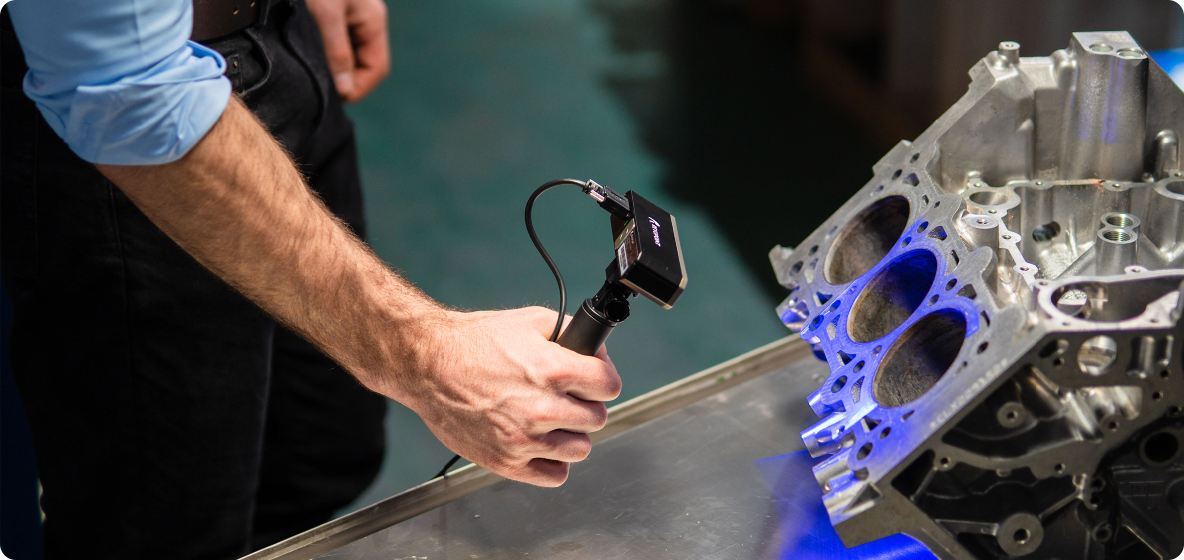
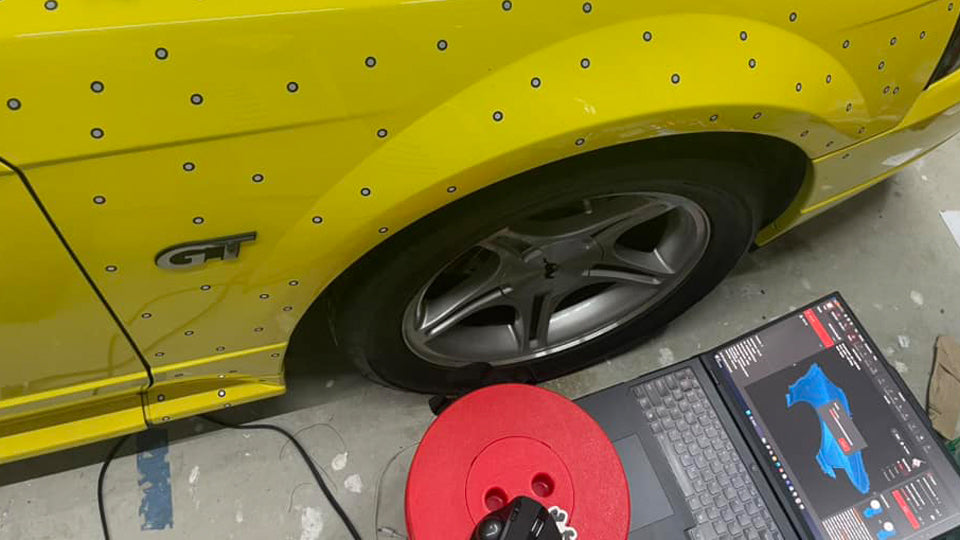
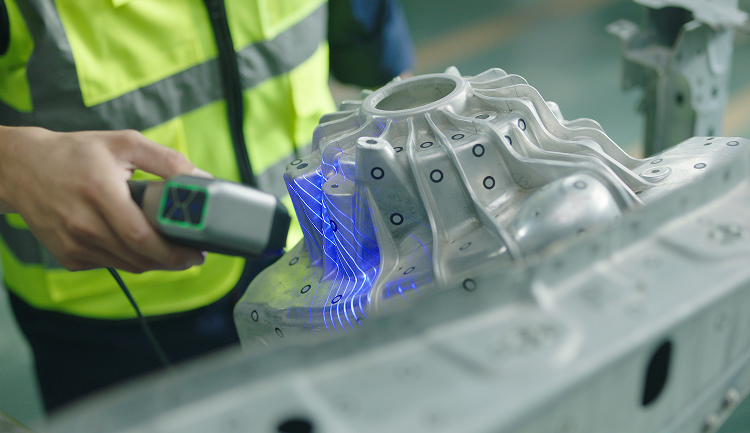
Do Surface Preparation
The quality of the scan heavily depends on the condition and surface properties of the object. If the surface is shiny, transparent, or reflective, consider applying a scanning spray (blue laser 3D scanners don’t generally need scanning spray for shiny surfaces). If the object has plain surfaces or repeating patterns, markers must be stuck across its surface to provide tracking points for the scanner.

Do Maintain a Consistent Scanning Environment
Environmental factors like lighting, temperature, and even humidity can impact the accuracy of 3D scans. To minimize external influences, try to work in a controlled, stable environment. If you're using a laser or structured light 3D scanner, avoid bright sunlight or sudden changes in light levels that could lead to inconsistencies in scanning.
Do Clean the Object Before Scanning
Dirt, dust, and other debris can distort the scan data and affect its overall accuracy. Before scanning, ensure that the object is free from contamination. A clean object provides more accurate data for reverse engineering, especially when working with fine details. Often, a quick clean with some wet wipes or a damp cloth is enough to remove most grime.
Do Capture Multiple Scans
Taking multiple scans from different angles or viewpoints helps capture all areas of the object. When scanning larger or more complex parts, it's often better to take several partial scans and merge them in Revo Scan afterward. This approach helps to fill in gaps and improve the overall model quality.
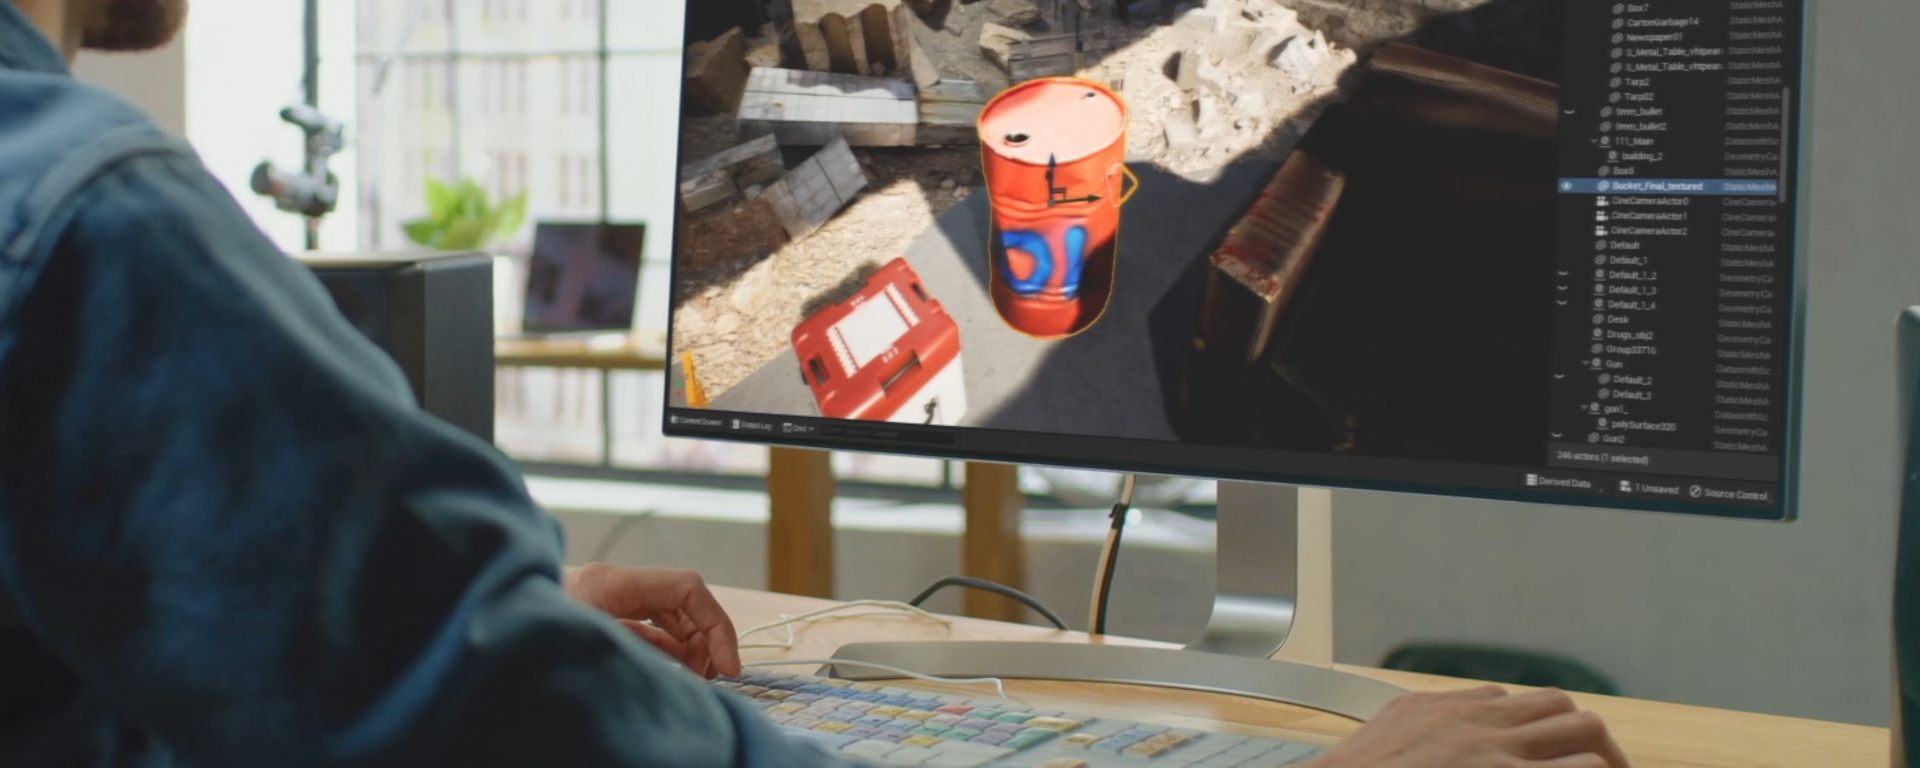
Do Post-Processing
Refining the raw point cloud using post-processing software is essential once the raw point cloud is captured. In Revo Scan, you can clean up data, remove noise, and merge scans into a single 3D model before exporting it for further processing in software like QuickSurface or Fusion 360 to transform the scan into a CAD to extract accurate dimensions for reverse engineering.
Reverse Engineering 3D Scanning Don’ts
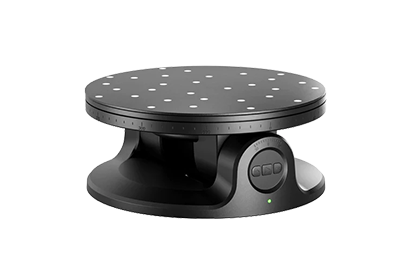
Don’t Ignore Object Movement
Any object movement during scanning can result in misaligned data or tracking loss. This can lead to inaccuracies in the 3D model, which may require additional scanning and post-processing time to correct. To avoid this, ensure the object is securely positioned during scanning. If necessary, use mounting systems or holders to prevent shifting.

Don’t Rush the Scanning Process
3D scanning requires patience. Rushing through the preparation or scanning process can lead to incomplete or inaccurate data. Take your time to carefully prepare the object and capture all necessary features of the object. Even though Revopoint 3D scanners are fast, prioritizing quality over speed will ensure the best outcome.

Don’t Forget to Perform Quality Checks
After completing the scanning process, check your data for errors or gaps. Verifying that your 3D model is error-free before proceeding to reverse engineering will save you time and effort during later design stages.
Don’t Ignore Legal Considerations
Before reverse engineering any object, ensure that you have the legal rights to do so. If the object is patented, copyrighted, or owned by another party, you might infringe on intellectual property rights by replicating the design. Ensure that your reverse engineering efforts comply with legal requirements to avoid costly litigation.

Don’t Forget to Back Up the Data
3D scan data files are often large, running into multiple gigabytes per scan, particularly when scanning large or complex objects. Ensure you have sufficient storage capacity and backups of your 3D scan data, as losing your scan data can set your project back significantly and require a complete rescan.
Leave a comment
This site is protected by hCaptcha and the hCaptcha Privacy Policy and Terms of Service apply.