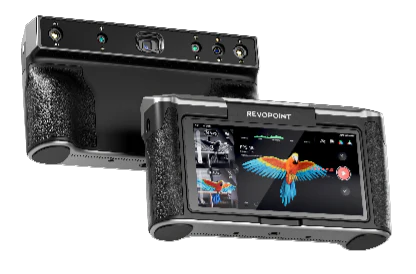
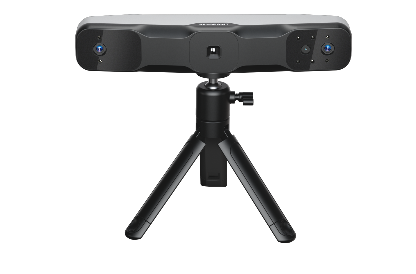
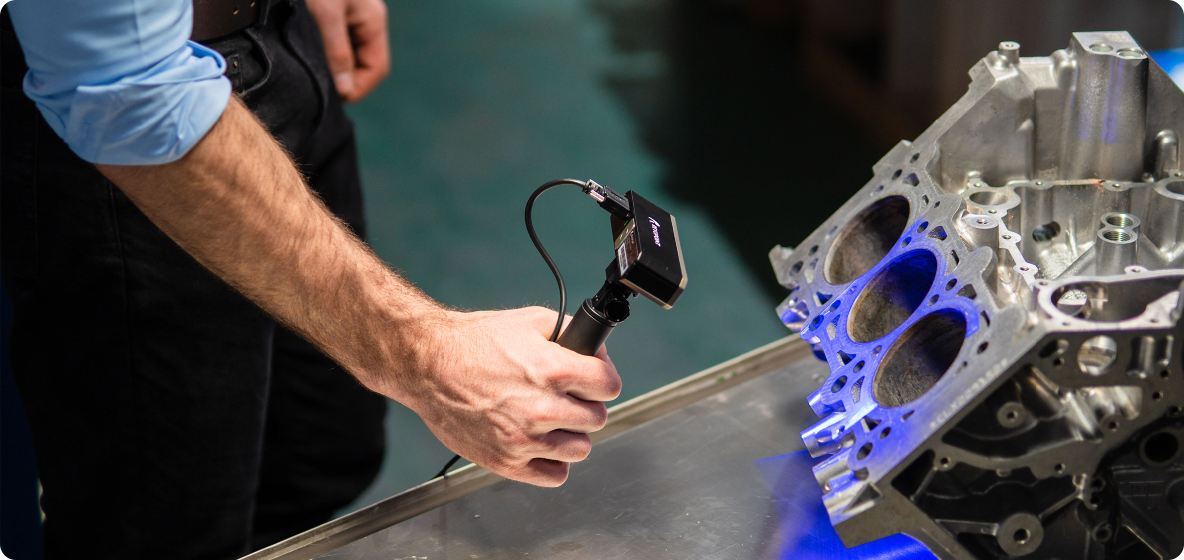
With the Revopoint MetroX 3D scanner shipping soon, now is a great time to learn how to get the best scanning results using its powerful laser scanning modes.
You may already know about the best practices for using a structured light 3D scanner to create high-quality 3D models. However, because laser 3D scanning operates slightly differently from structured light scanning, a different approach is required to prepare your object for scanning and the scan itself. So get comfortable, and let's take a look at these 7 tips to ensure your laser scans are always top-notch.
Markers, Markers, Markers!
There are no ifs, ands, or buts when it comes to placing markers. MetroX’s laser modes won’t even project lasers if it can’t detect markers. So, you must use markers during a laser scan to give the scanner something to track so it can correctly connect the data it's capturing.

You have several options in this regard. The first is to place sticky markers all over the object's surface or around it (depending on its size) in a non-repeating pattern with a 3 to 4 cm space between them and ensure there are at least 5 markers per frame. You can use 6 mm (better for large objects) or 3 mm (takes less space on small objects) markers, or even a mixture of the two (remember, you can only select one marker size to remove during fusion).
Of course, if you have the MetroX Advanced Edition, you can use the included Marker Block Kit to speed up the process by placing its marker blocks on or around the object to set up some ready-made tracking points almost immediately.
Presetting Scan Point Distance
When doing a laser scan, you can preset a point distance in Revo Scan before starting the scan. The smaller the point distance, the better the MetroX can capture fine details, but the longer the scan will take. So, set it appropriately depending on the object you are scanning.
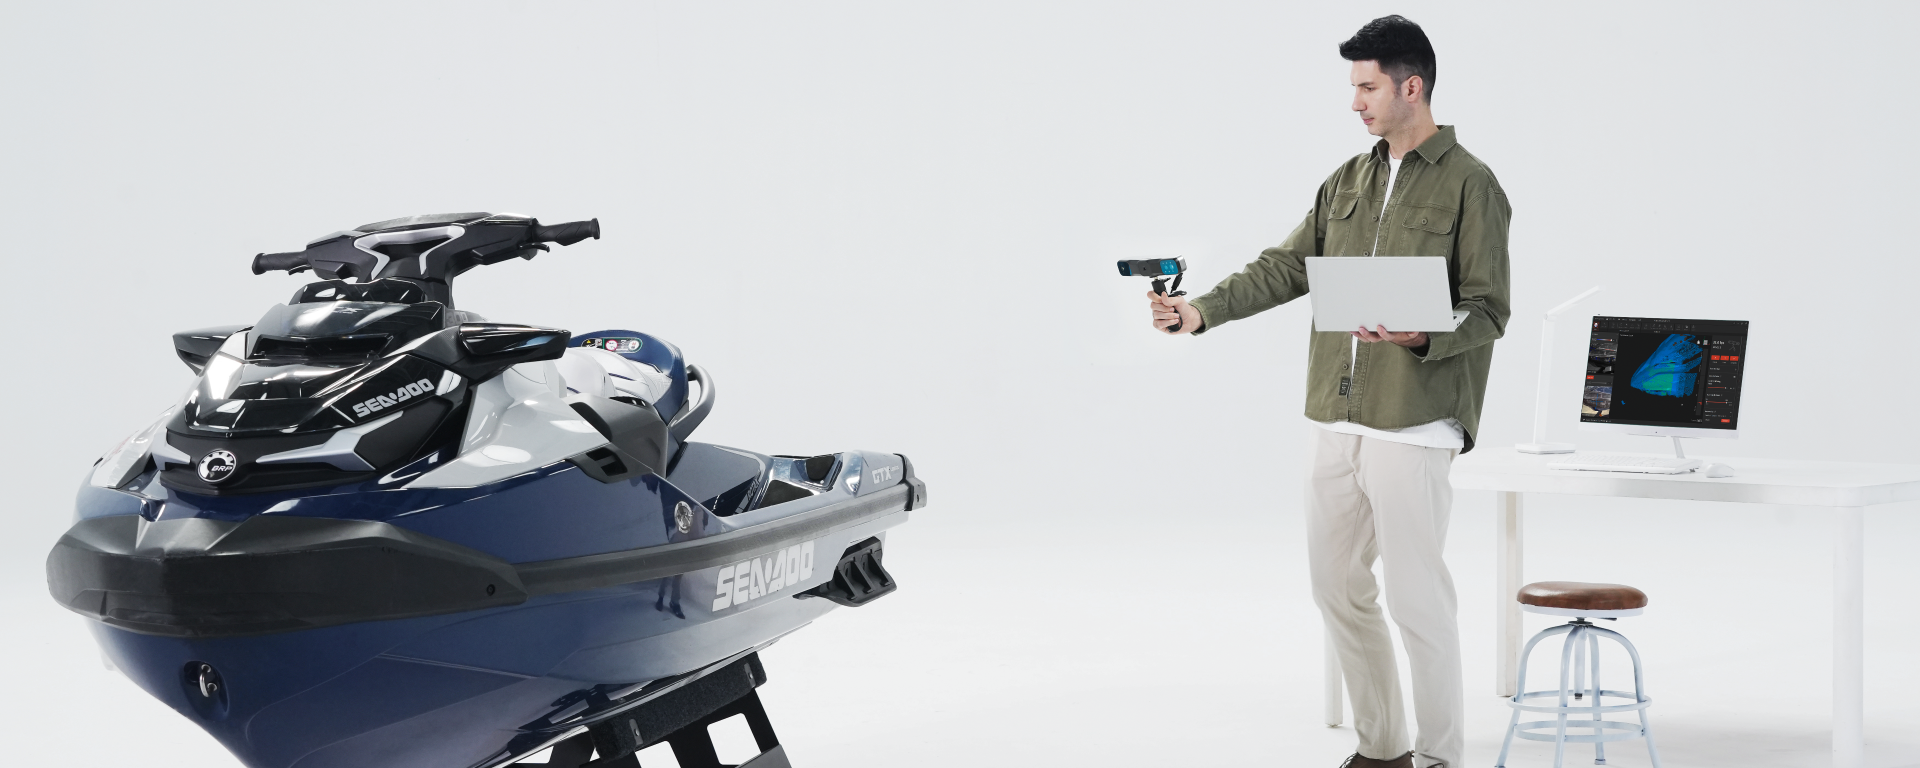
For example, for a coin with lots of surface detail, you’ll want to select the parallel mode and set it to its lowest setting for maximum detail capture. However, if you're scanning a car door, using cross lines and setting it to around 0.5 mm will help speed up your scan without sacrificing any details, as car doors are mainly plain surfaces.

Exposure and Brightness
On the left side of the Revo Scan (MetroX) interface above the depth camera preview window, you find turn setting options. One is for the depth cameras’ exposure, which you must set to minimize the amount of blue (underexposed) or red (overexposed) patches shown in the preview window.
The other is the laser brightness setting, which you must adjust depending on the object’s surface. For example, when dealing with a dark surface, you’ll want to increase the brightness to ensure enough light reflects back to the depth cameras. If dealing with a shiny surface, you may want to lower the brightness to reduce the glare and reflection during the scan.
Go Green
When scanning with MetroX’s laser modes, the point cloud changes from red to green as more data is captured. The more green it gets, the higher the data quality, so you’ll want to keep scanning the same areas from different angles until they turn green in Revo Scan. Don’t stop scanning until the point cloud is mostly green.
Clean and Prepare the Surface
Before you begin scanning, ensure that the object’s surface is clean and free from dust, debris, or any very reflective substances. Contaminants can interfere with the laser's accuracy, resulting in distorted data. A quick wipe-down can significantly improve the quality of your scan.

Proper Lighting Conditions
Lighting is often overlooked but plays a significant role in the quality of your scan. While laser scanners are less sensitive to lighting than structured light scanners, extreme lighting conditions can still affect the results. Avoid direct sunlight and overly dark environments. A controlled, moderate light setup is ideal for achieving accurate scans.
Use Appropriate Fusion Settings
Balancing scan resolution with file size and processing time is key. Higher fusion settings capture more detail but generate larger files and require longer processing times. The general rule of thumb is to use a low point distance for smaller objects like coins with intricate details and a higher point distance for larger objects with mainly featureless surfaces like car doors.
And that’s a wrap. Remember these 7 tips when using the MetroX’s laser scanning modes, and you’ll be bashing out perfect scans every time. MetroX is now available on Revopoint’s website with a 5% pre-order discount.











Leave a comment
This site is protected by hCaptcha and the hCaptcha Privacy Policy and Terms of Service apply.